

この記事では、スウェーデンのベスポークコマカレンJanne Melkerssonの2足目の製造工程と仕上がりをご覧いただけます。私の双子の兄が手縫いで飾り縫いをしてくれたので、私にとってはちょっと特別な一足です。
この靴のアイデアは、1年半前にヤンネを訪ねて、彼の工房で一緒に靴を作ったときに得ました。当初は、ストックホルムの革工房で馬具職人として働く私の双子の兄が、アッパーレザーをすべて手作業で縫製し、スウェーデンでの完全なハンドメイドの靴を作るという構想がありました。しかし、Jannewouldはアッパーを閉じる作業の多くを指導しなければならず(アッパーを閉じる作業は非常に特殊で、兄はこれまでやったことがありません)、2人は550km離れて暮らしており、さらに兄はすでに仕事に追われているため、多くの問題があることに気づきました。そこで結局、肝心な靴の飾り縫いだけは、兄にやってもらうことにしました。モデルはメダリオンを浮かせたアデレードで、開口部とフェイシングに沿って対照的な飾りステッチが施されています。
以下、写真でプロセスのウォークスルー、そして最終結果です。制作中の写真はJanne Melkerssonが撮影したもので、彼は非常に多くのことを得意としていますが、写真を撮ることは得意ではありません。
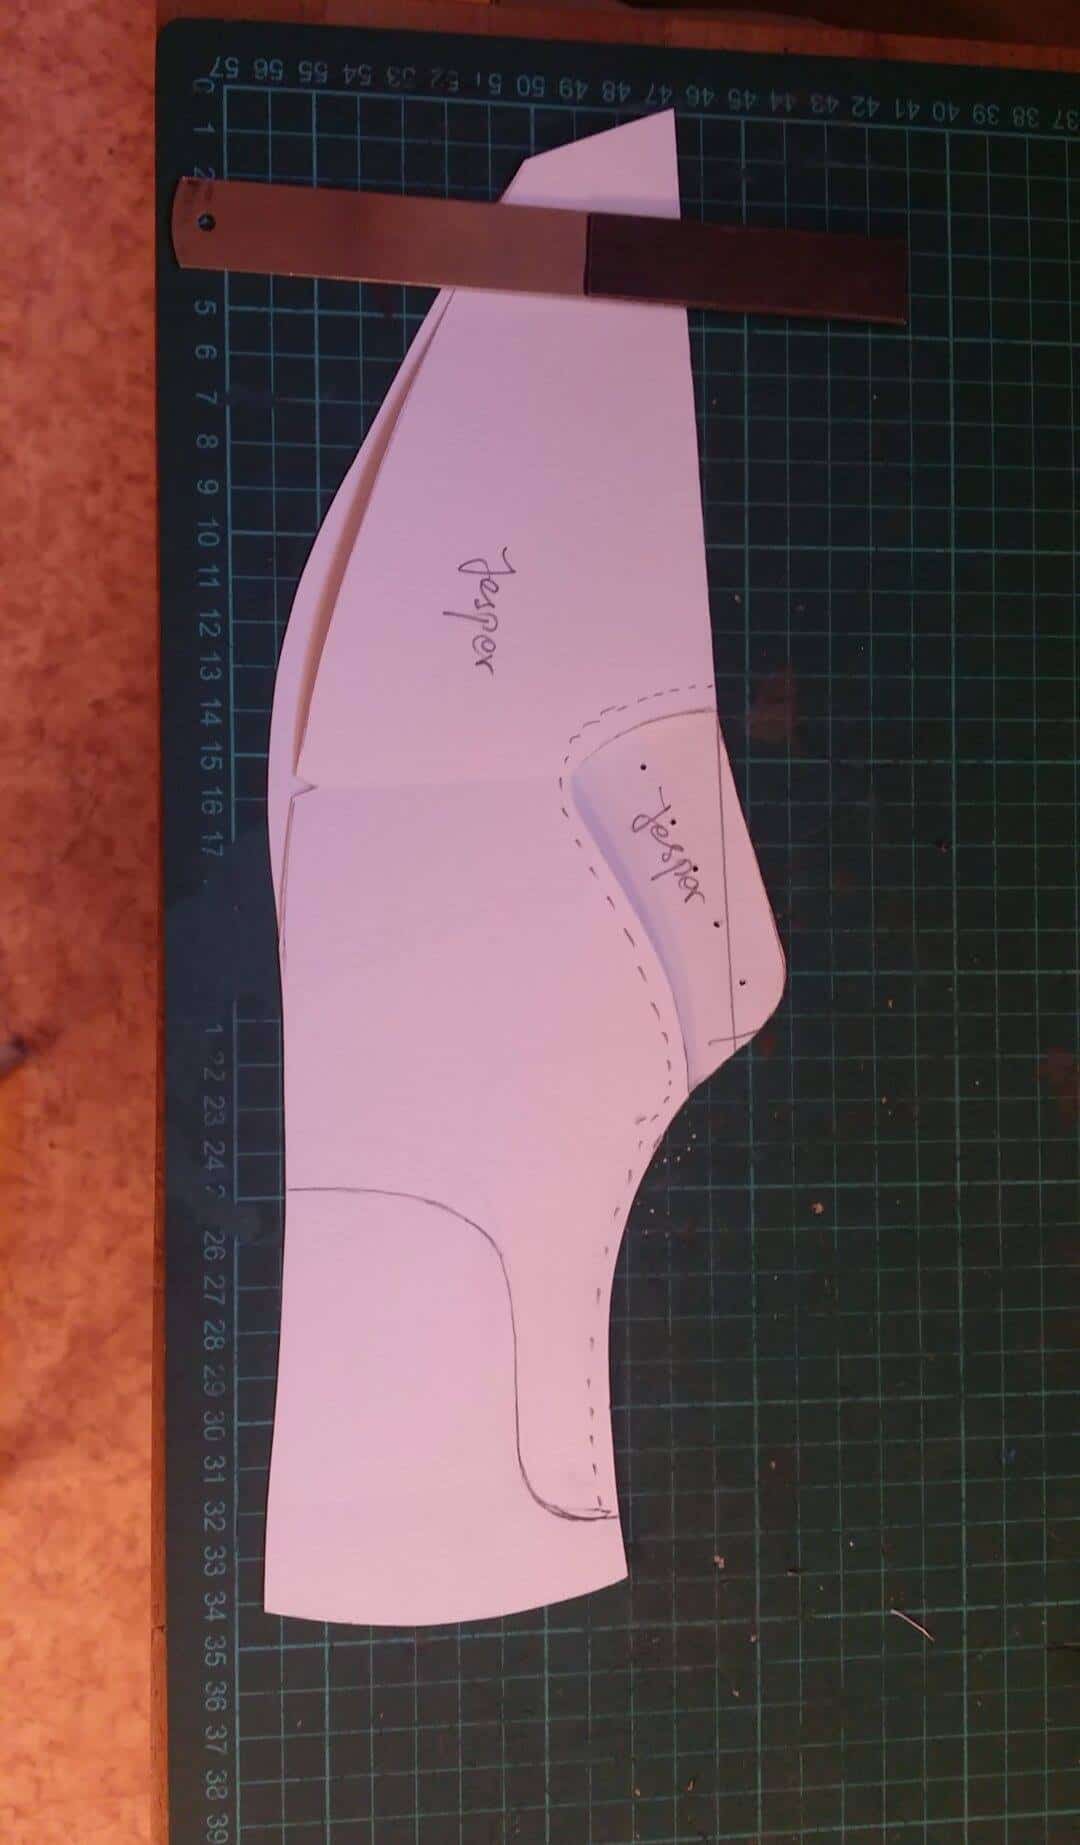
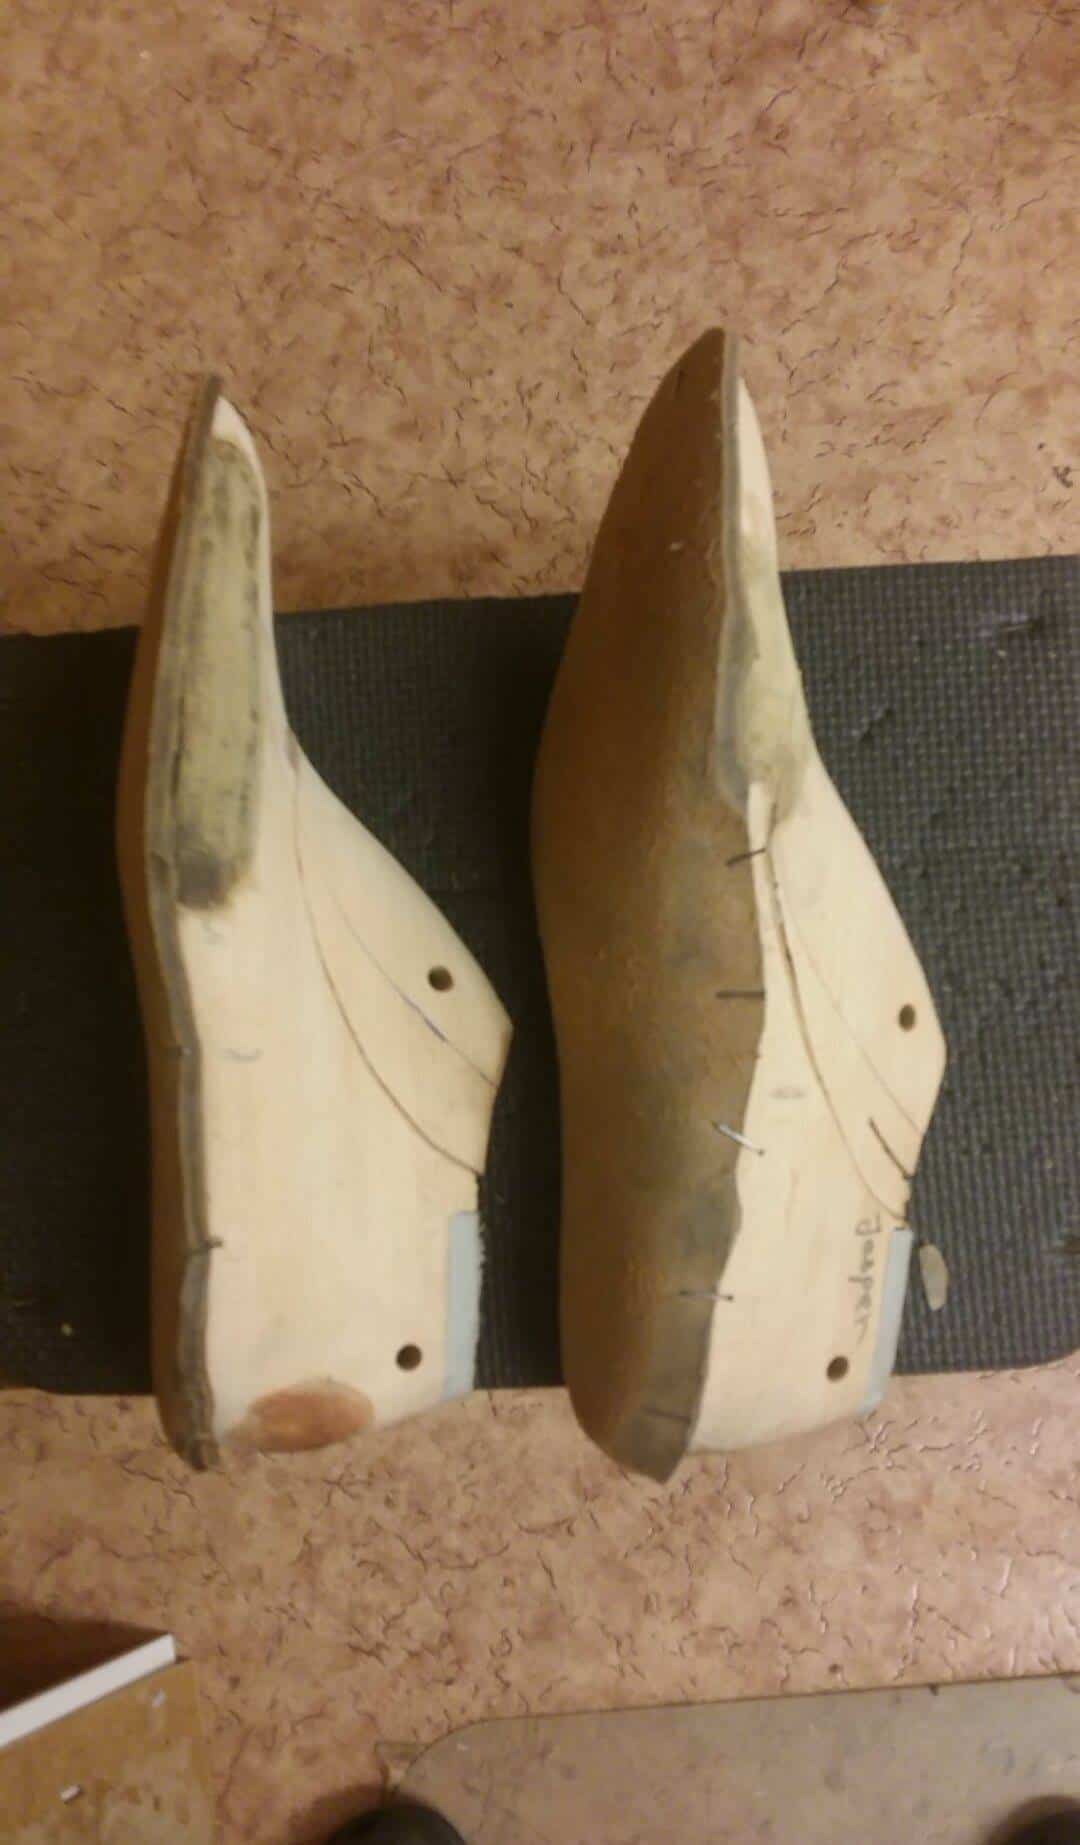
一部自分で描いていた靴の型紙。
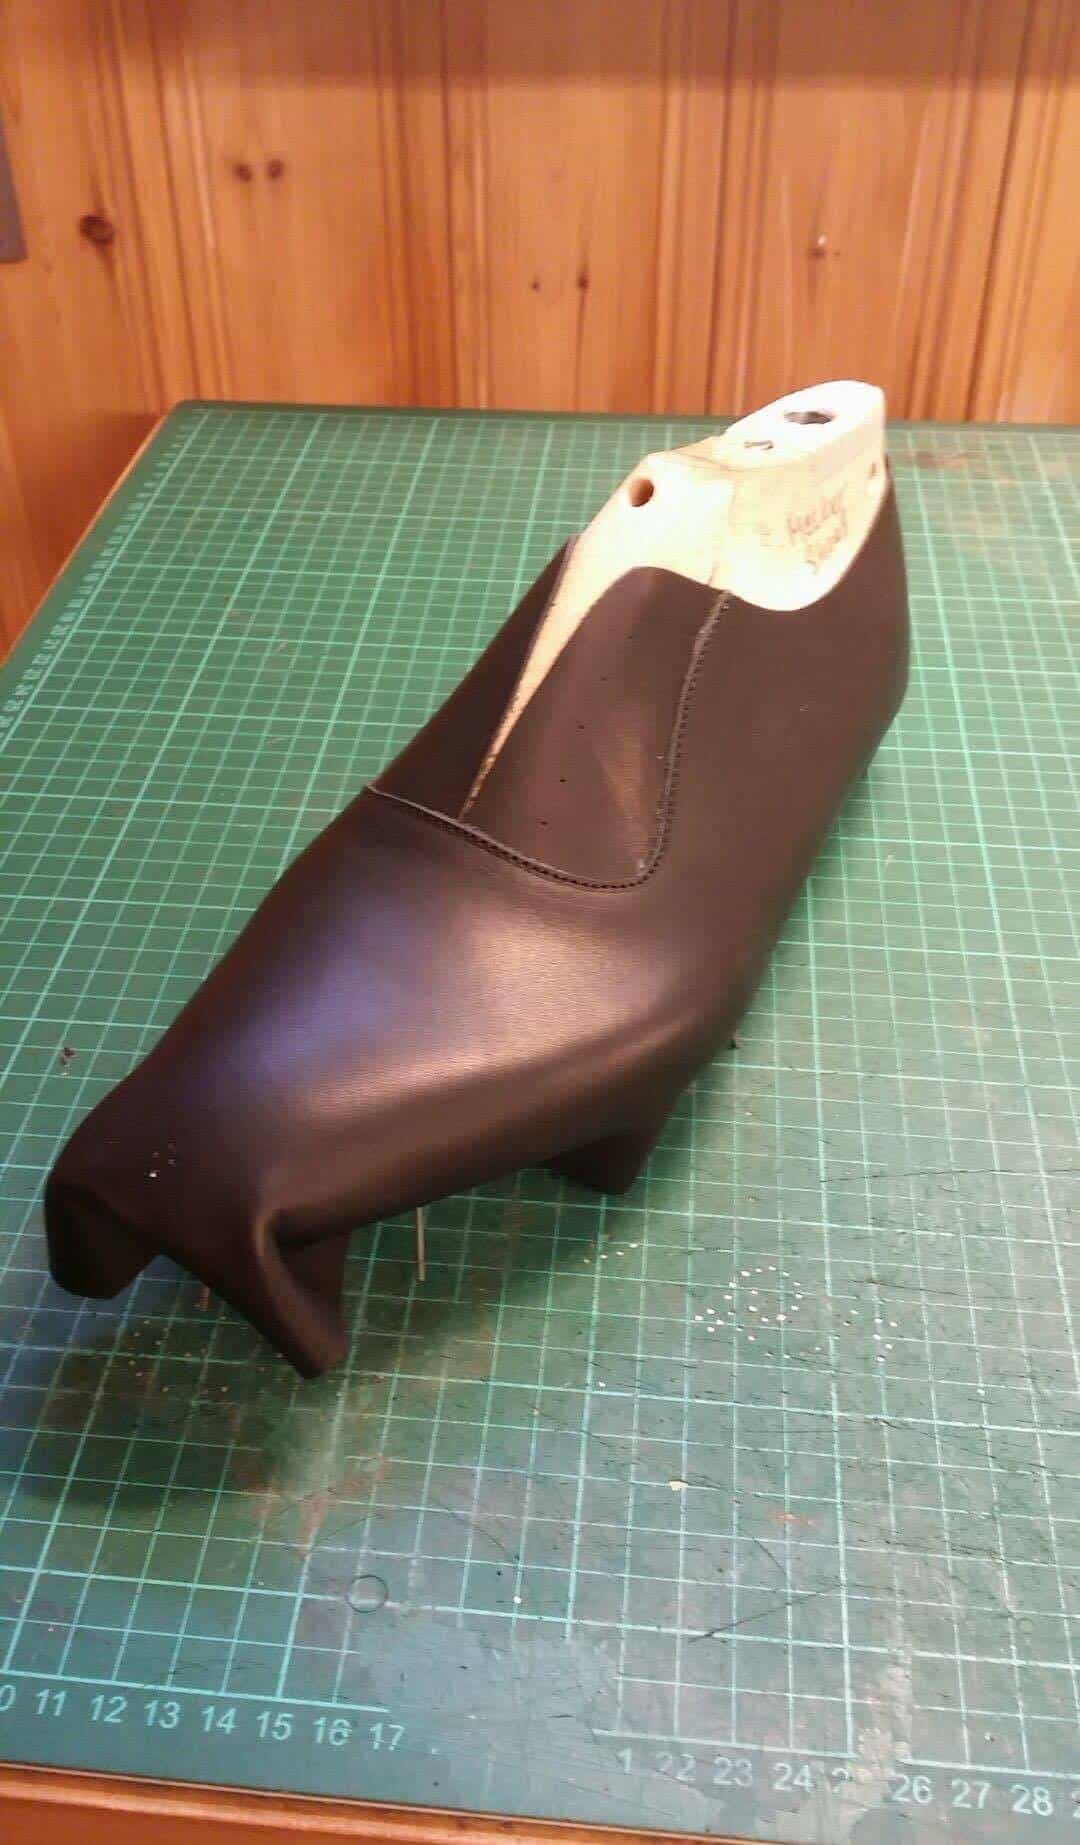
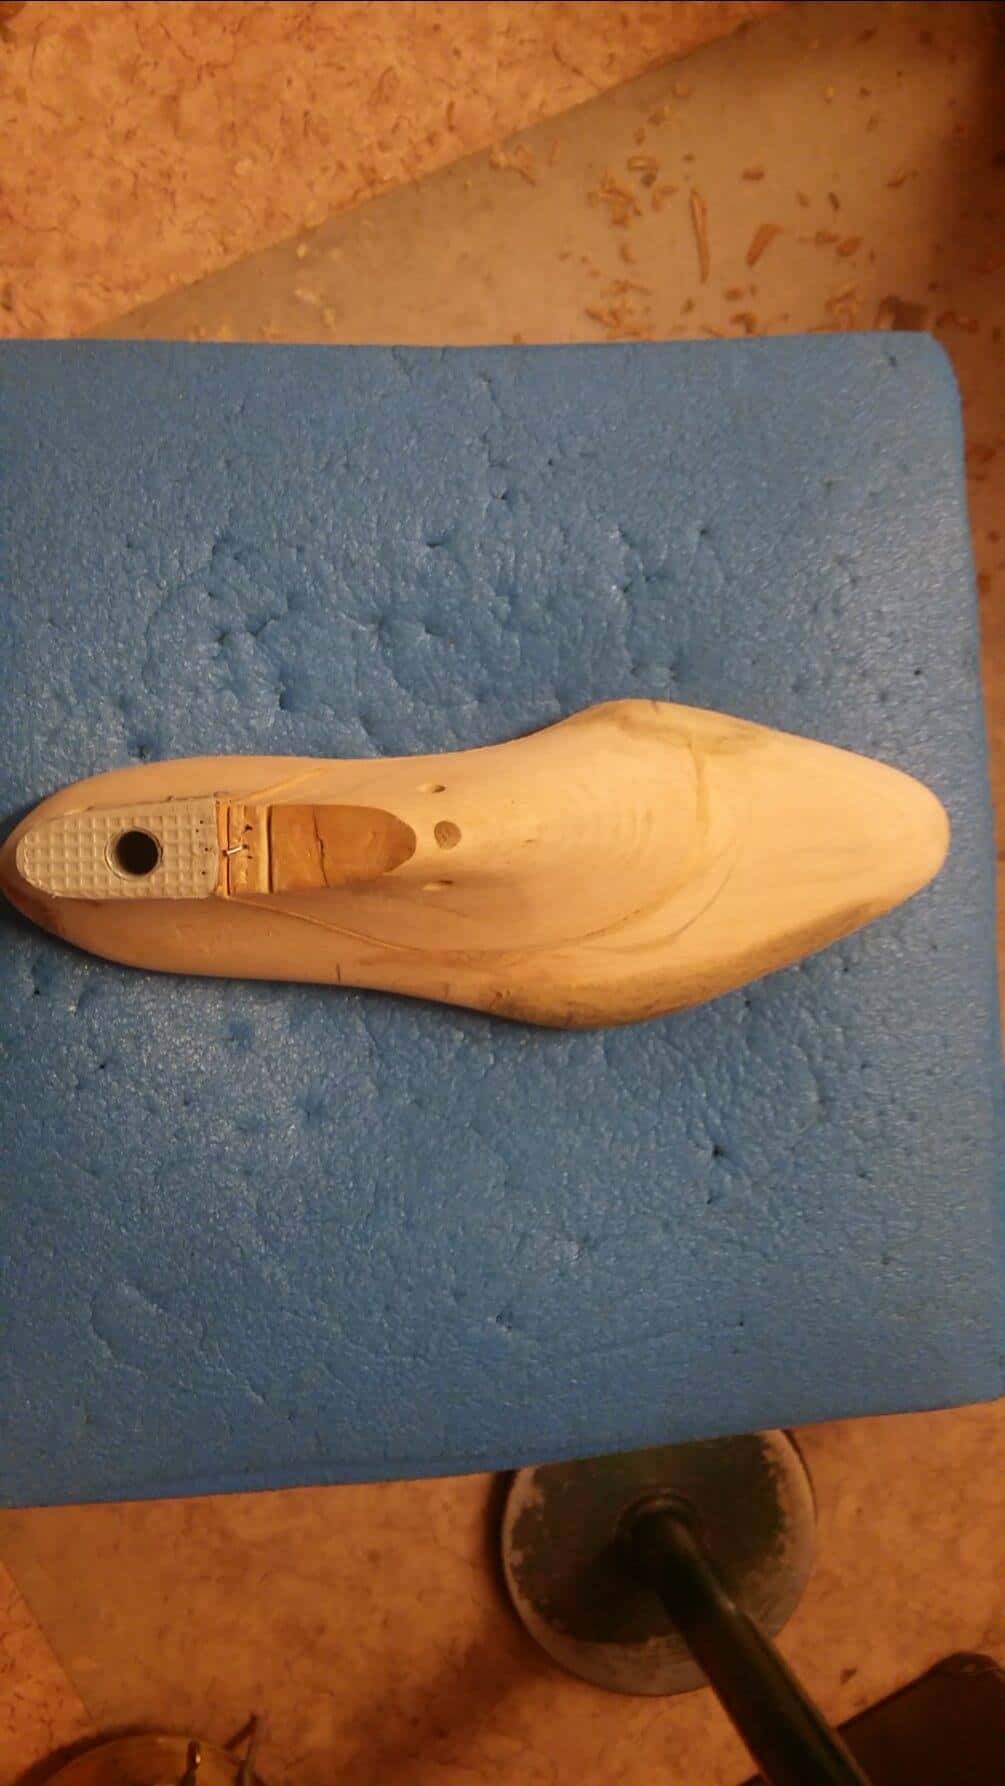
ここではヤンネが、ラストの新しいパターンがあると必ず作る、スクラップレザーのアッパーをサンプルとして作っています。
ヤンネが靴を送る前にメダルを作ったのは、これが失敗して兄の仕事が無駄にならないようにするためです。
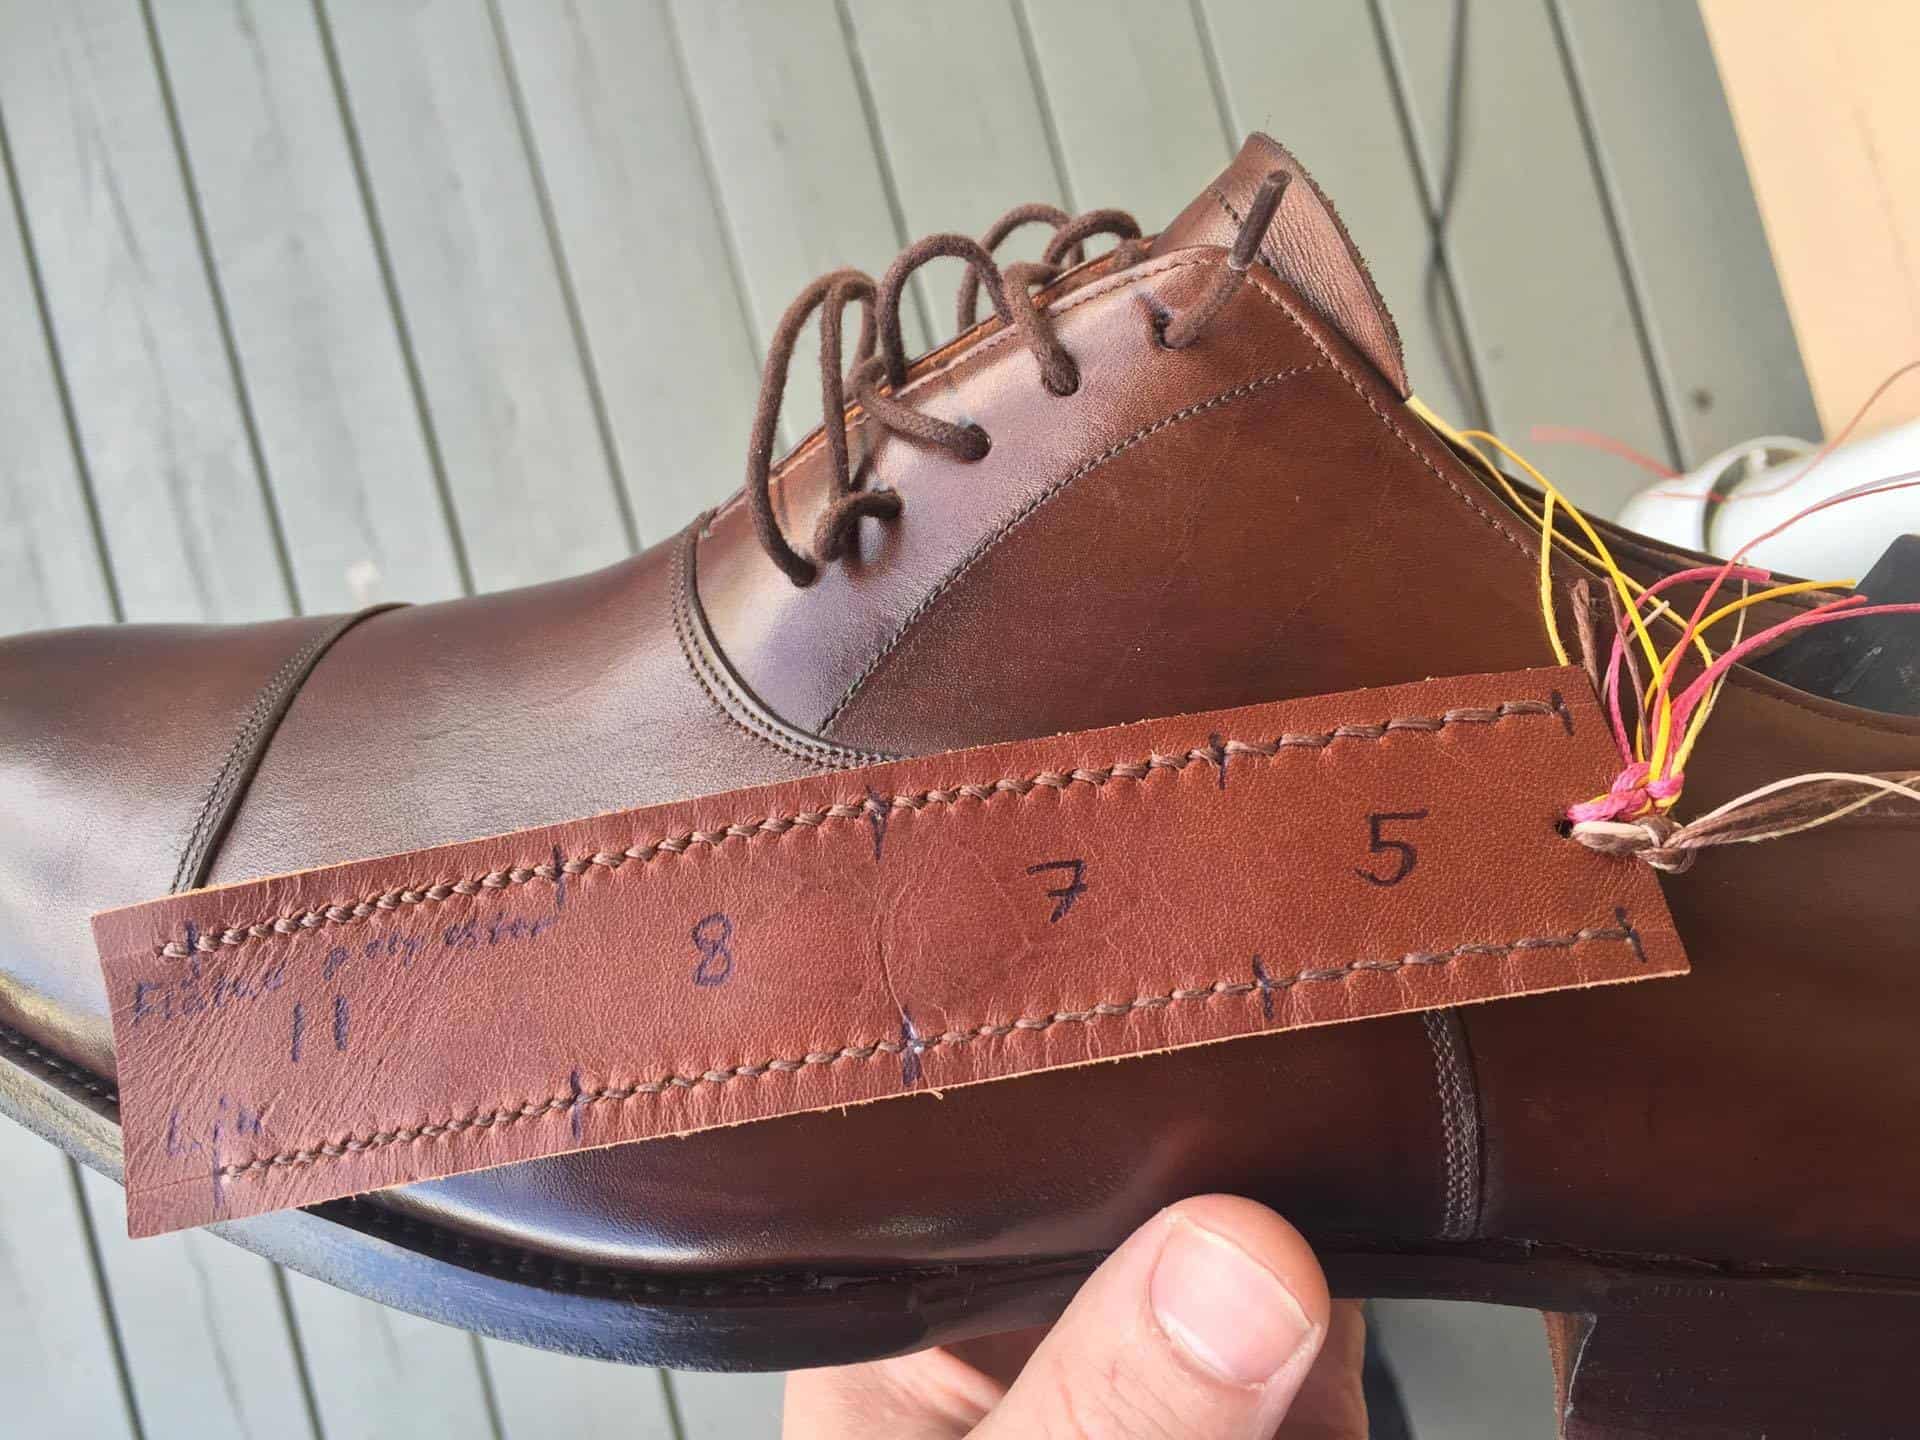
兄が作った、飾り縫いを決めやすくするための「道具」のようなもの。私は、ジャンヌが8スピで作るソールステッチとよく同期する、オフホワイトの上太糸を選びました。
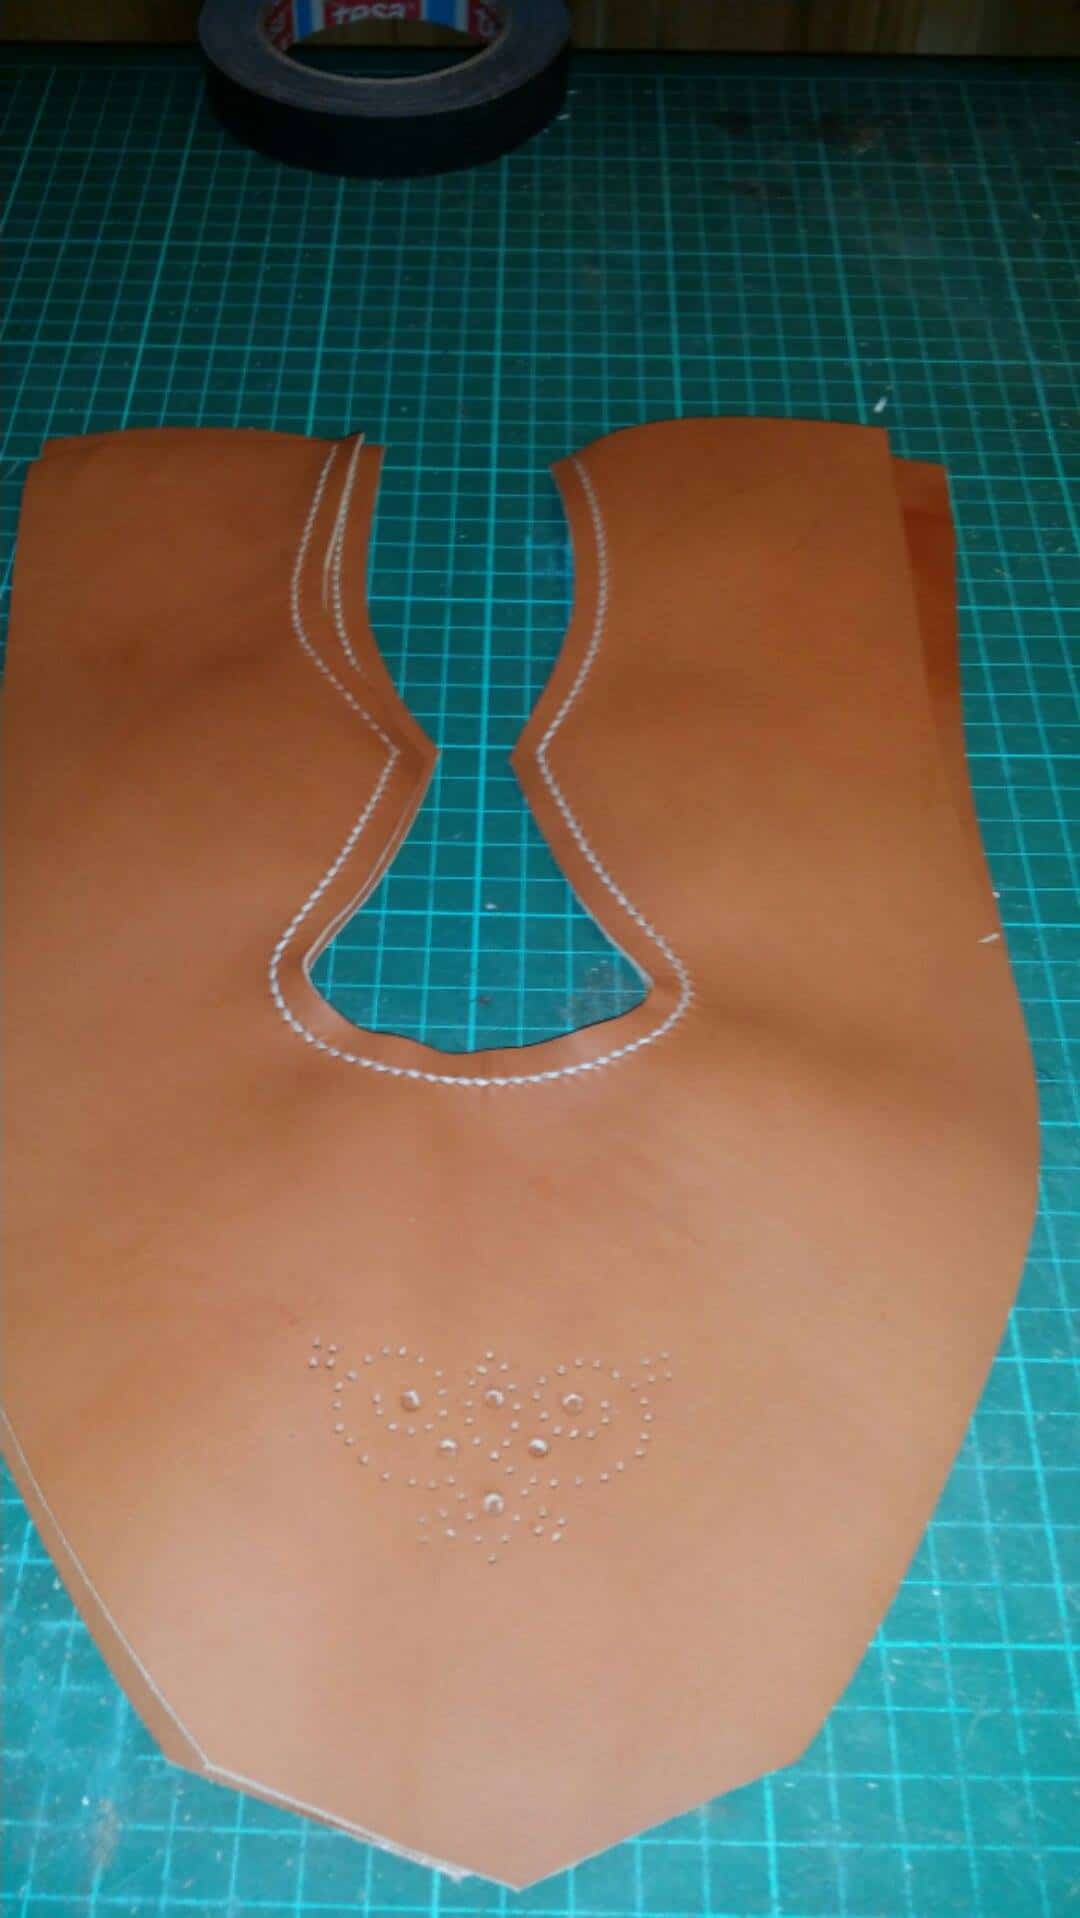
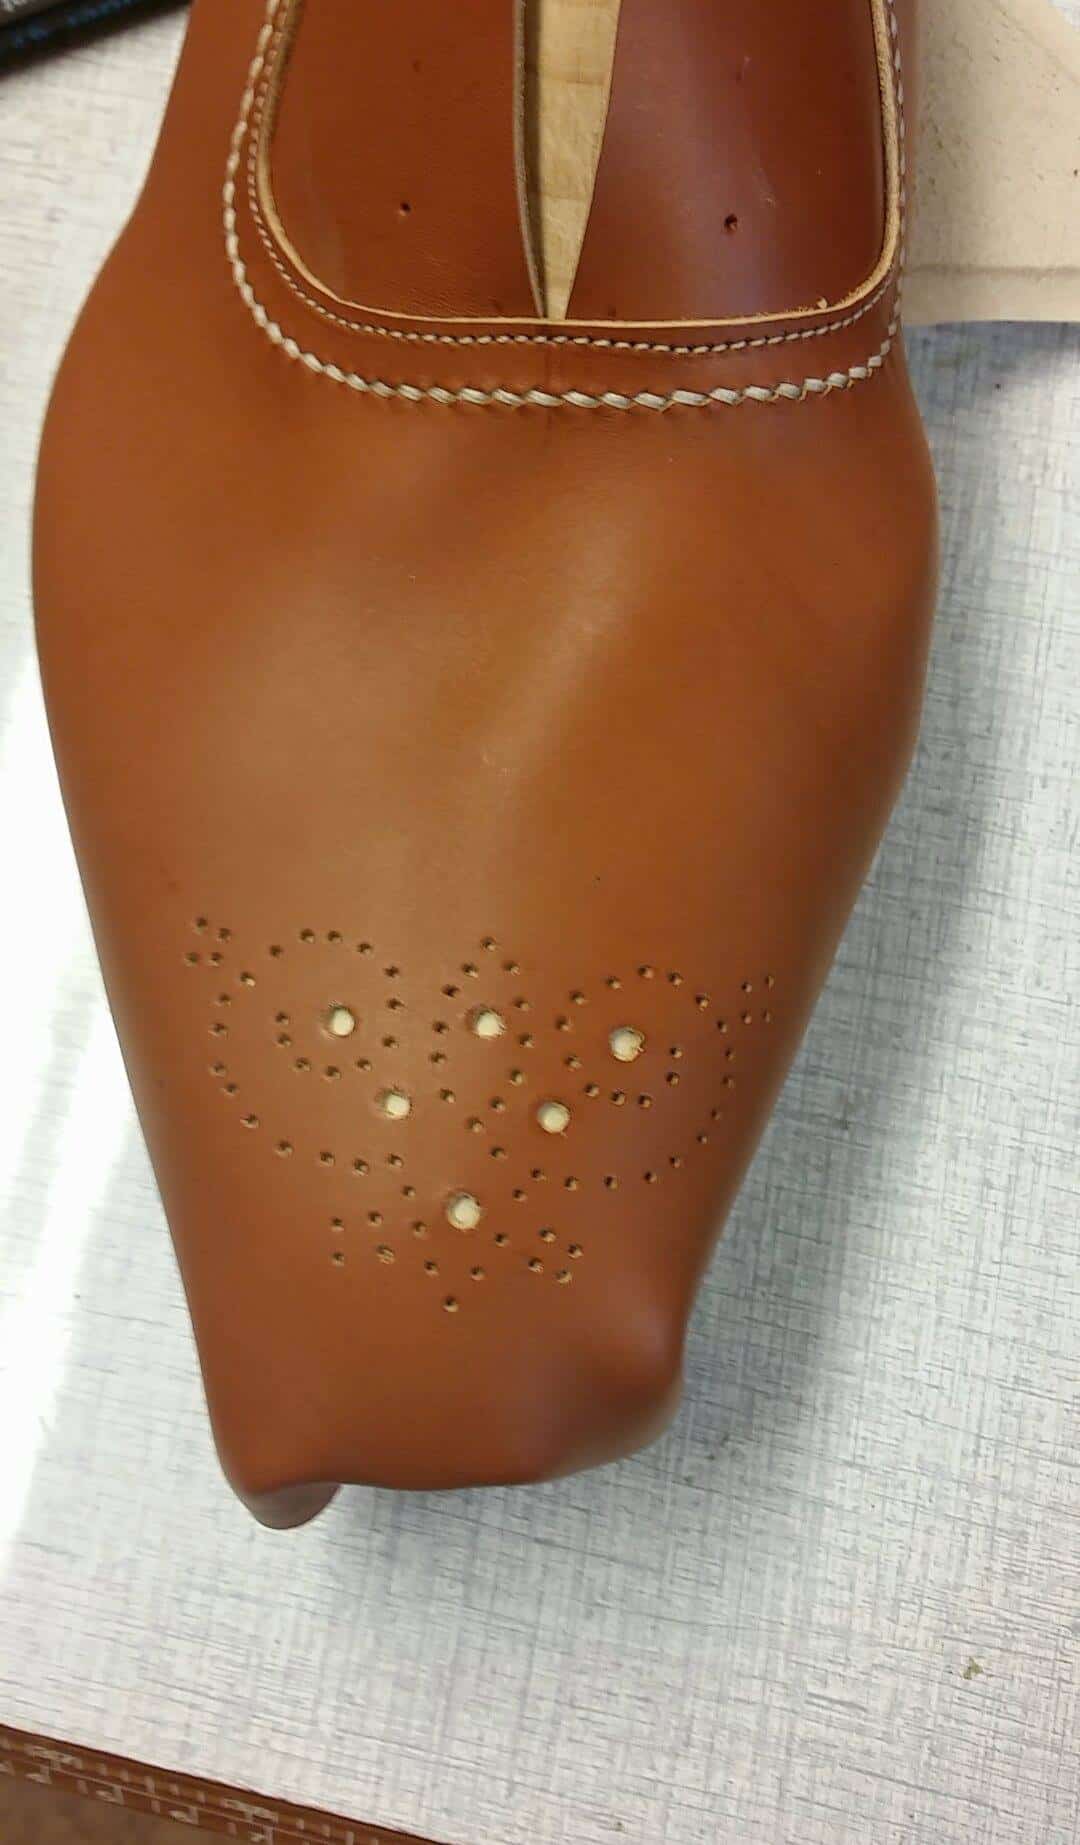
ヤンネが兄から受け取った上半身のパーツは、2つの手縫いの縫い目がきれいに残っています。

ここで、フィッティングパーツをサンディングします(数ミリしか必要ありませんでした)。また、アーチの下に隙間があったため、その部分も削った。
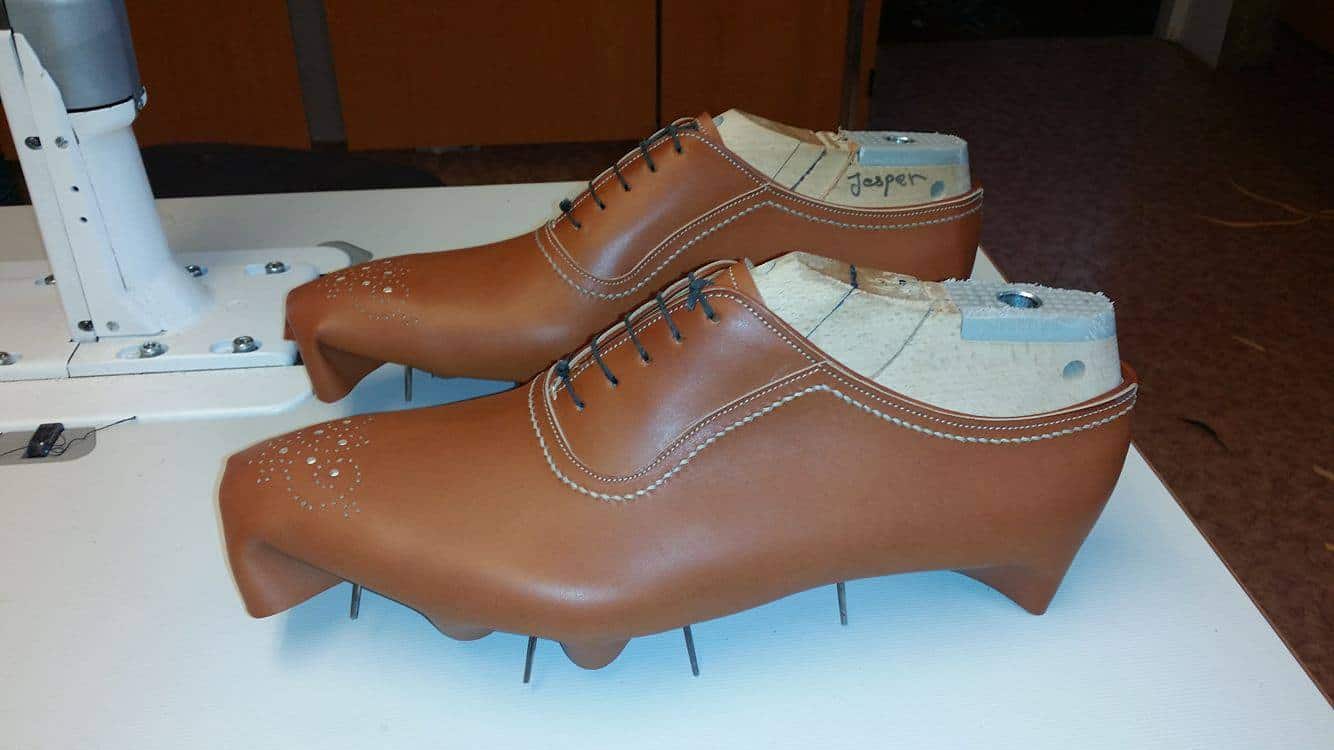
アッパーのクローズアップが続く。
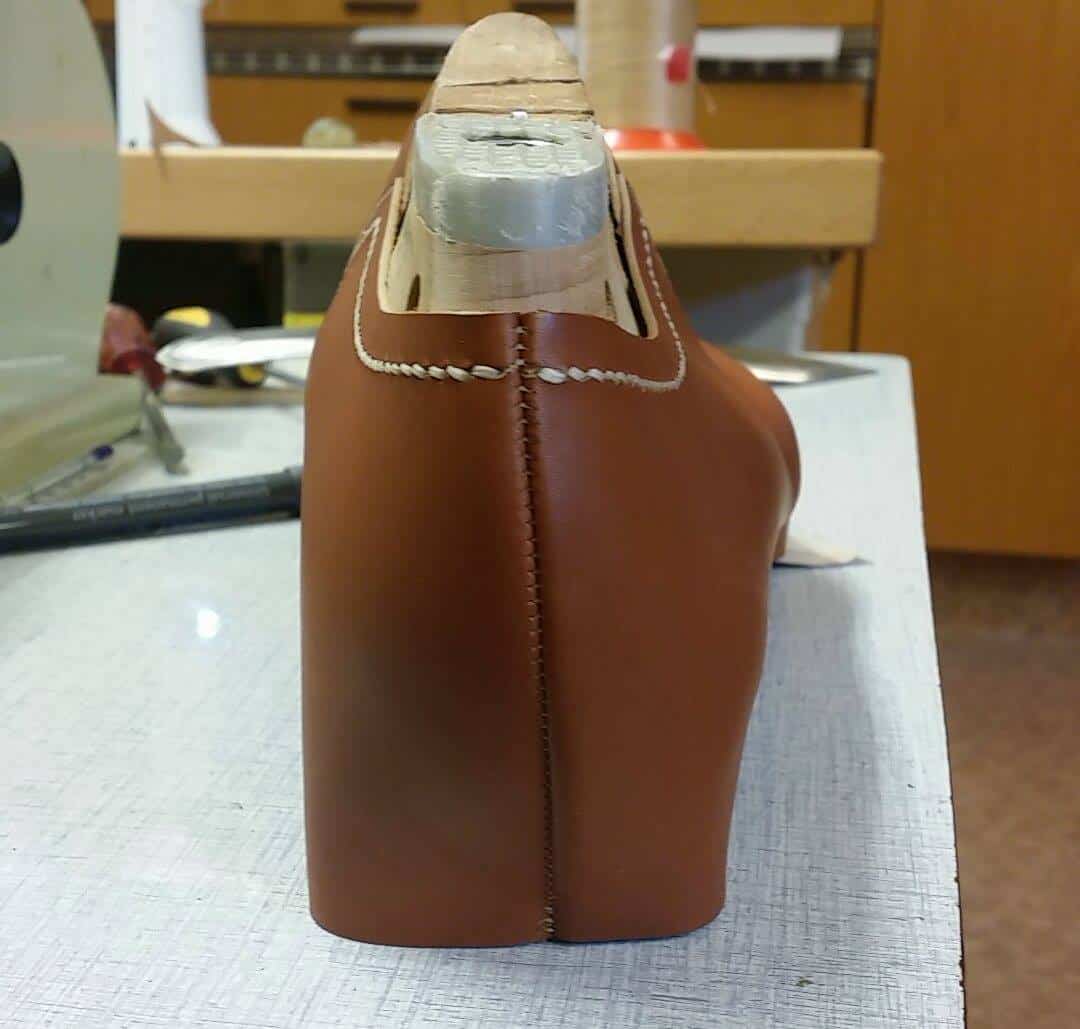
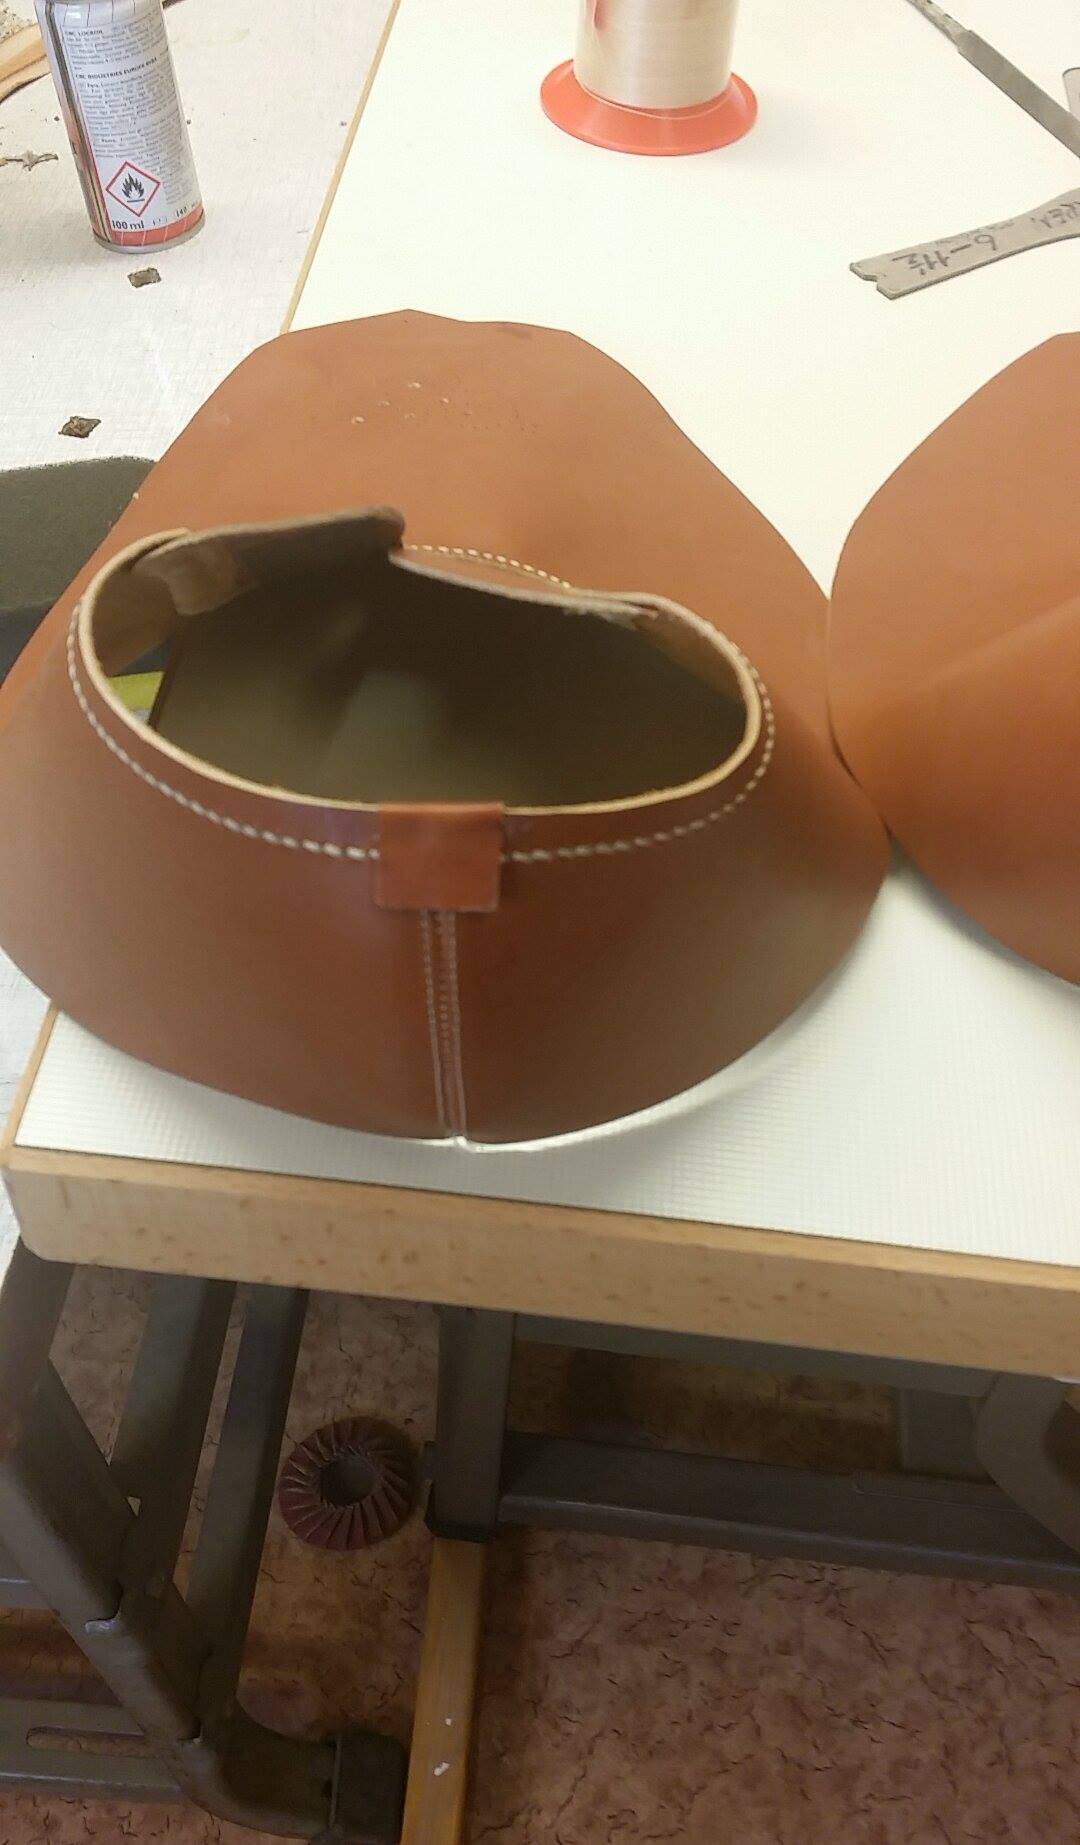
アッパーのクローズアップが続く。ここで背中の縫い目を逆向きにする。
内部の補強。
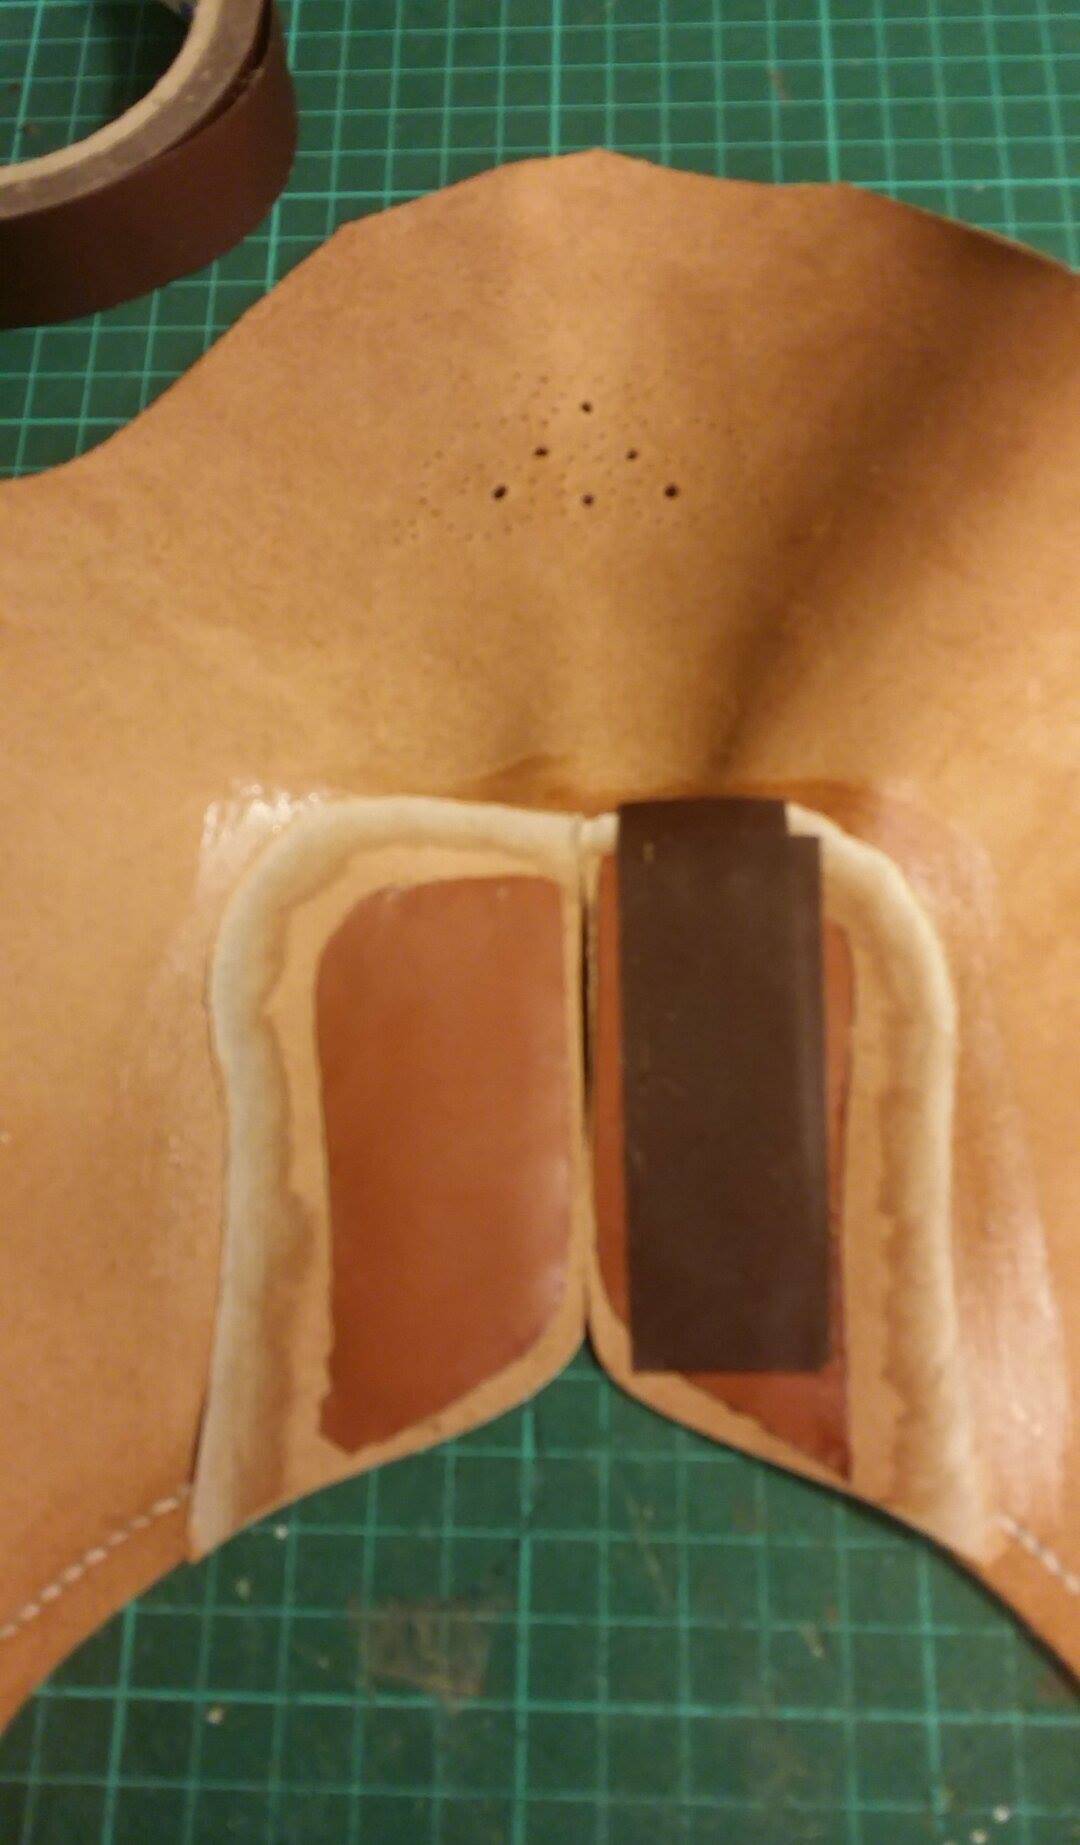
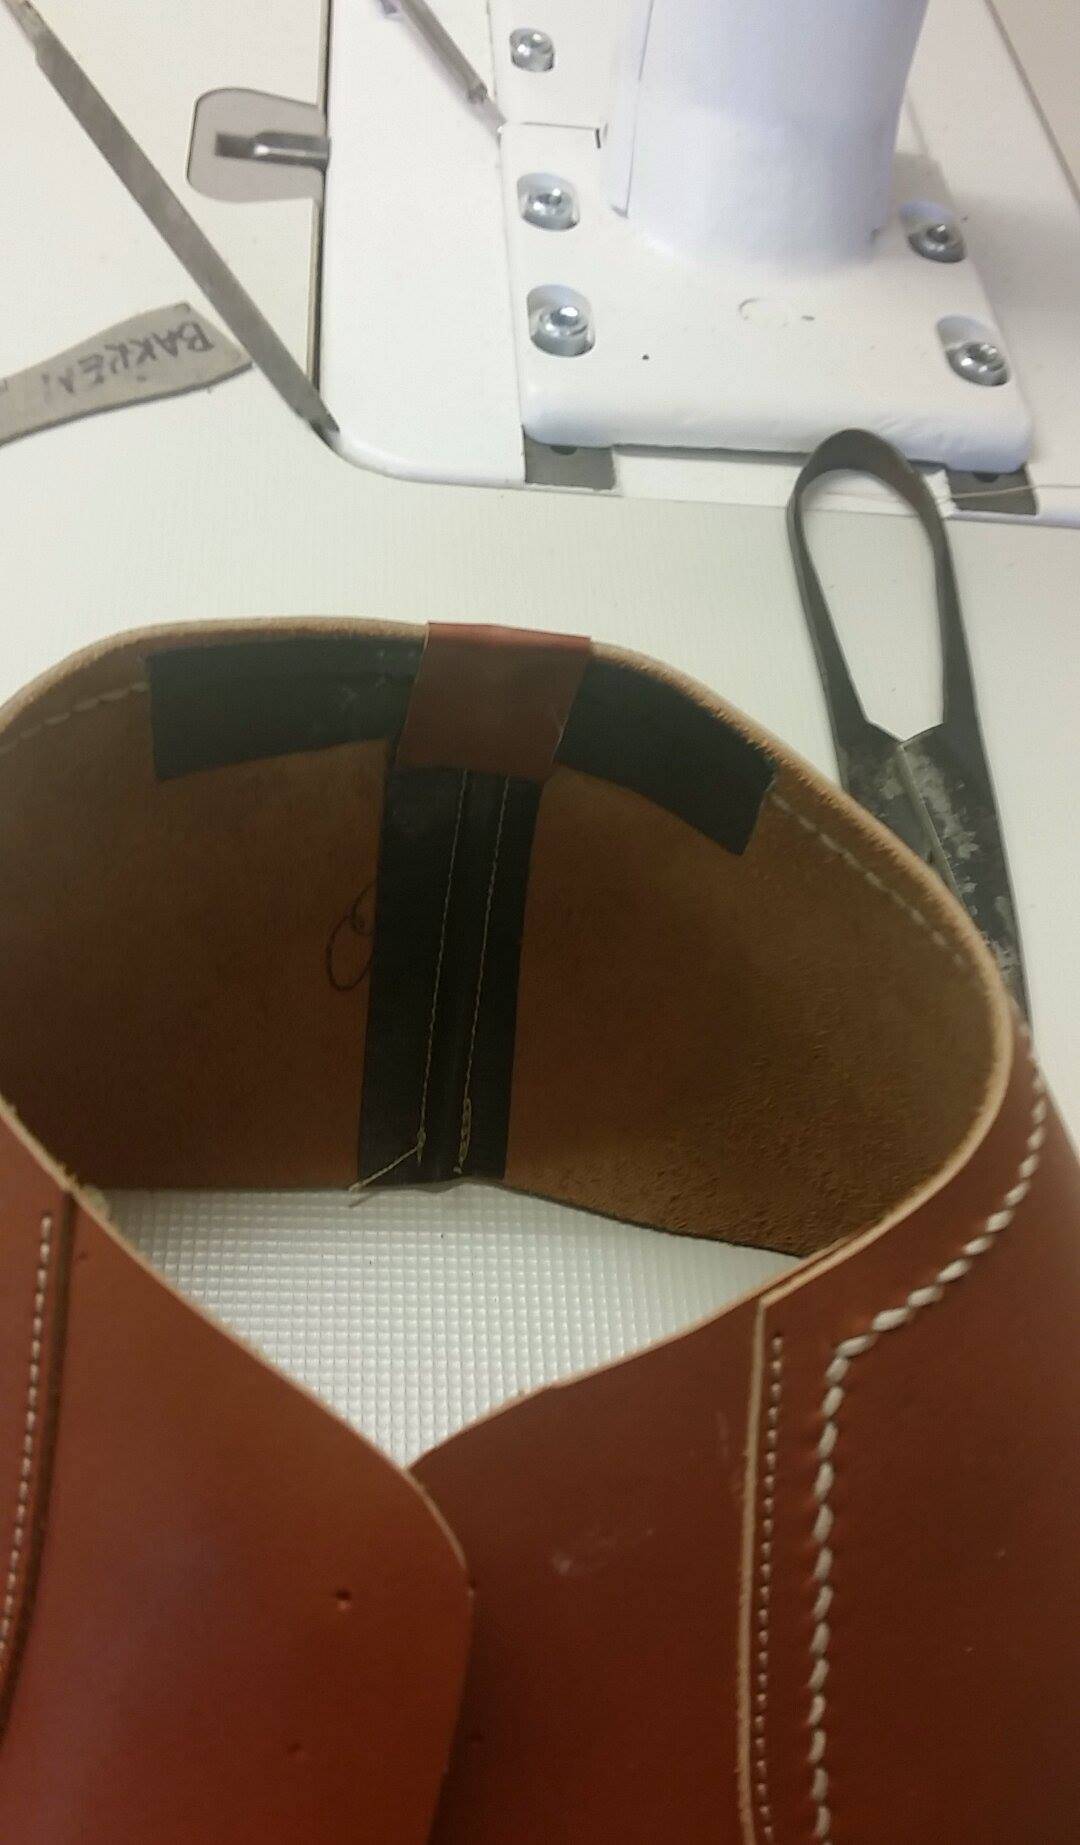
他の場所には補強を施し、ここには紐を通す。
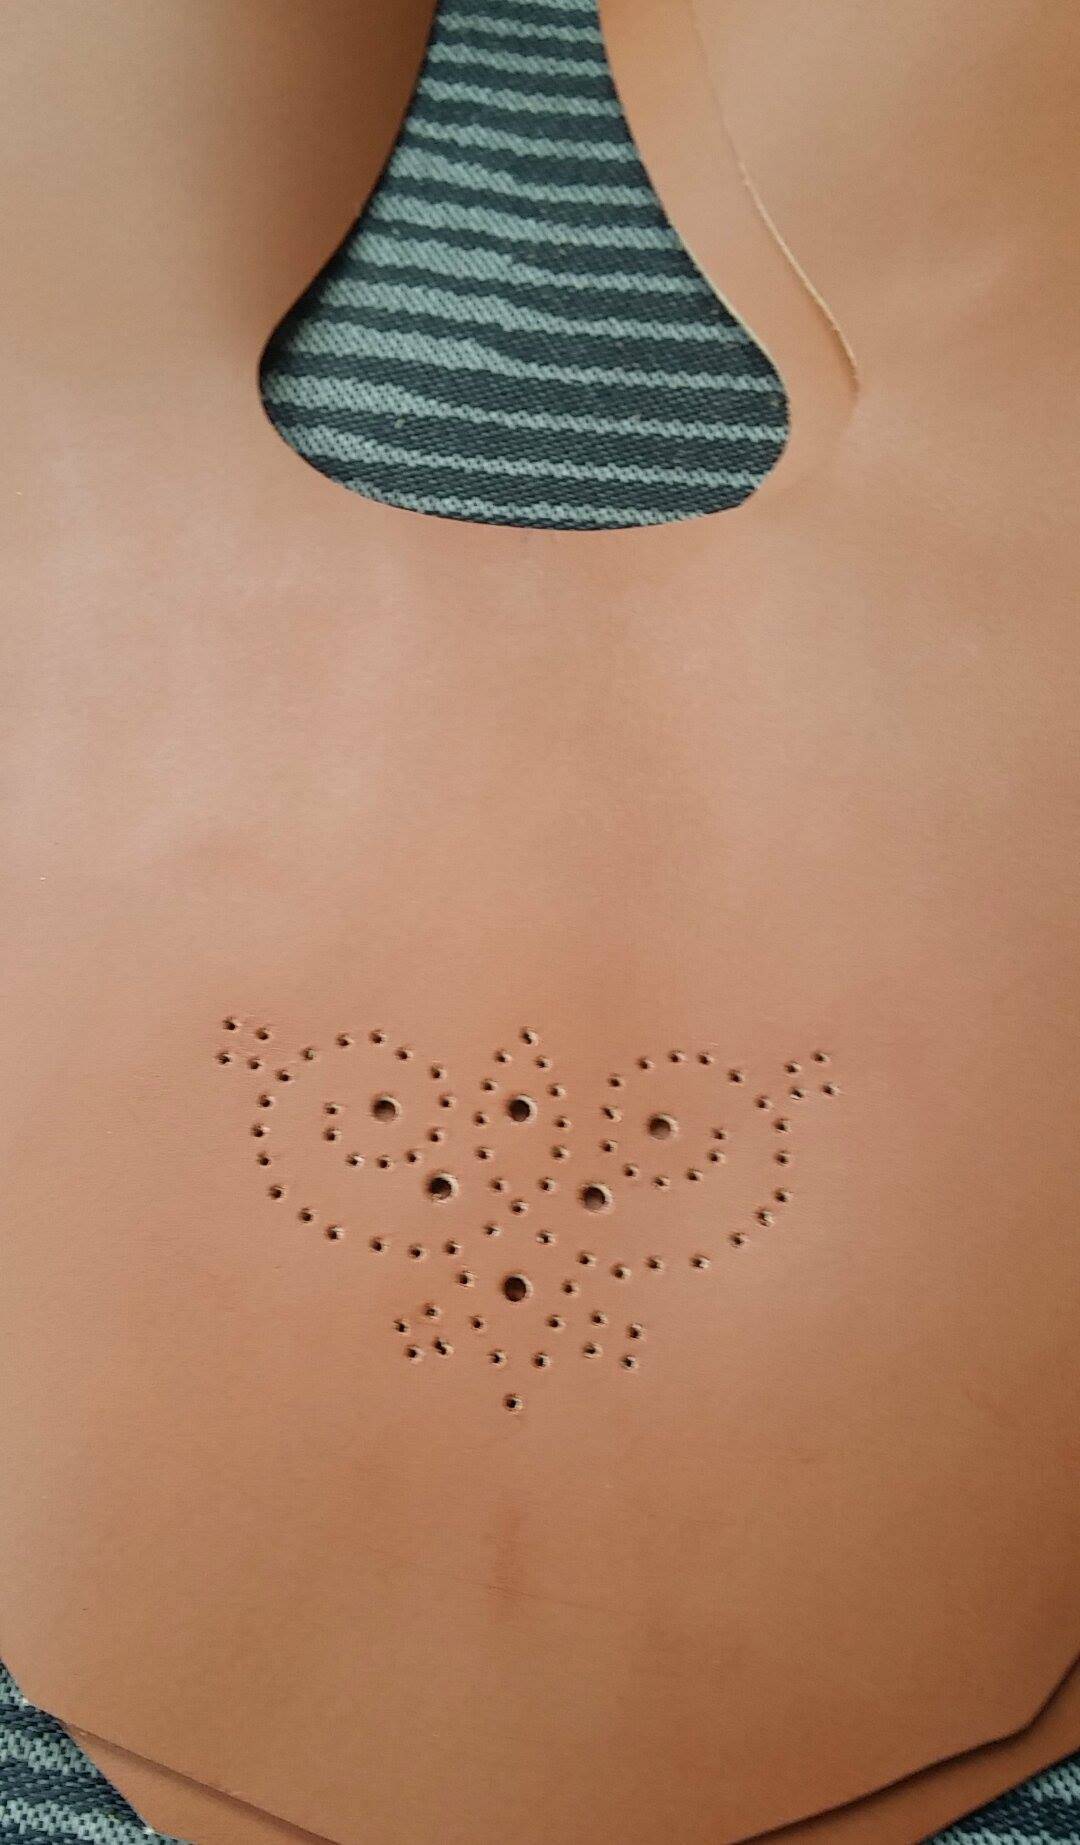
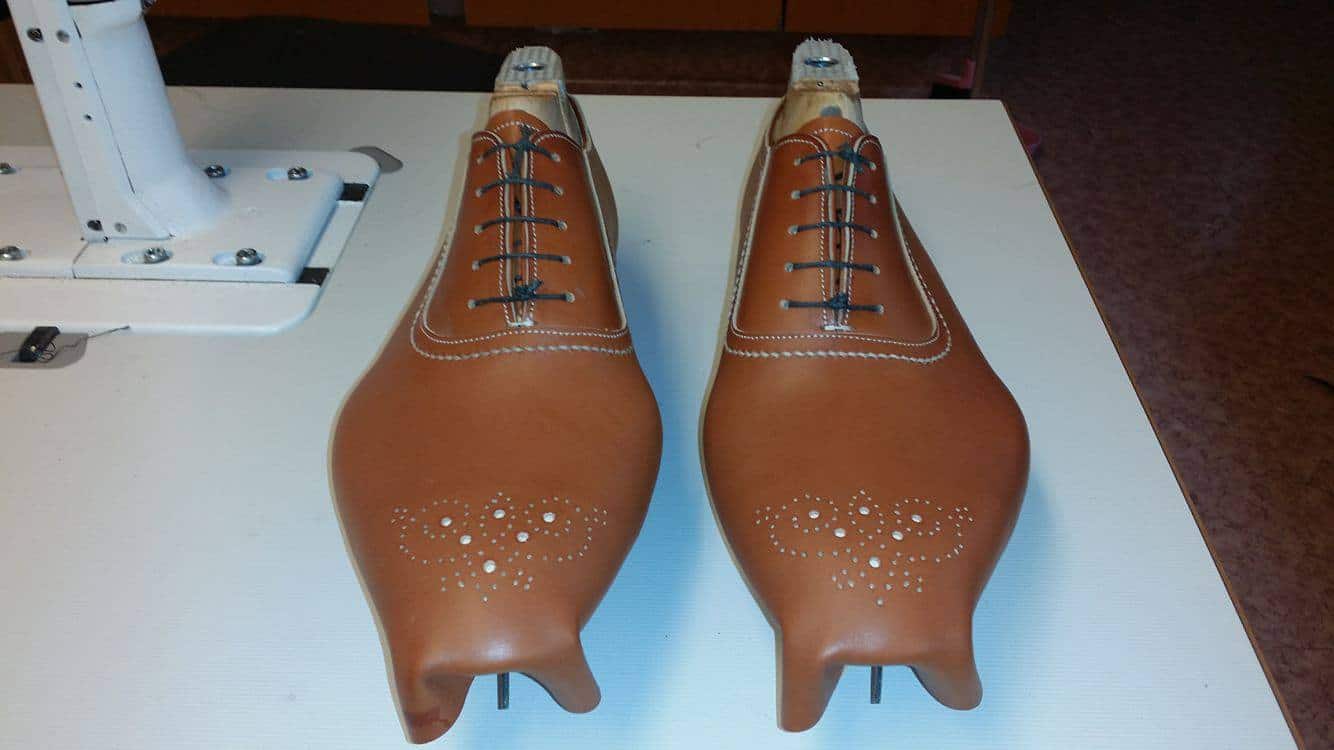
メダリオンの下には明るい色の革片が配置され、穴から光り、装飾のステッチとよくマッチしています。
ブロッキングインソール

ここでアッパーがほぼ完成し、ウェルトステッチの留め具がインソールから削り出される。
最初の、敗者復活戦。
別の視点から
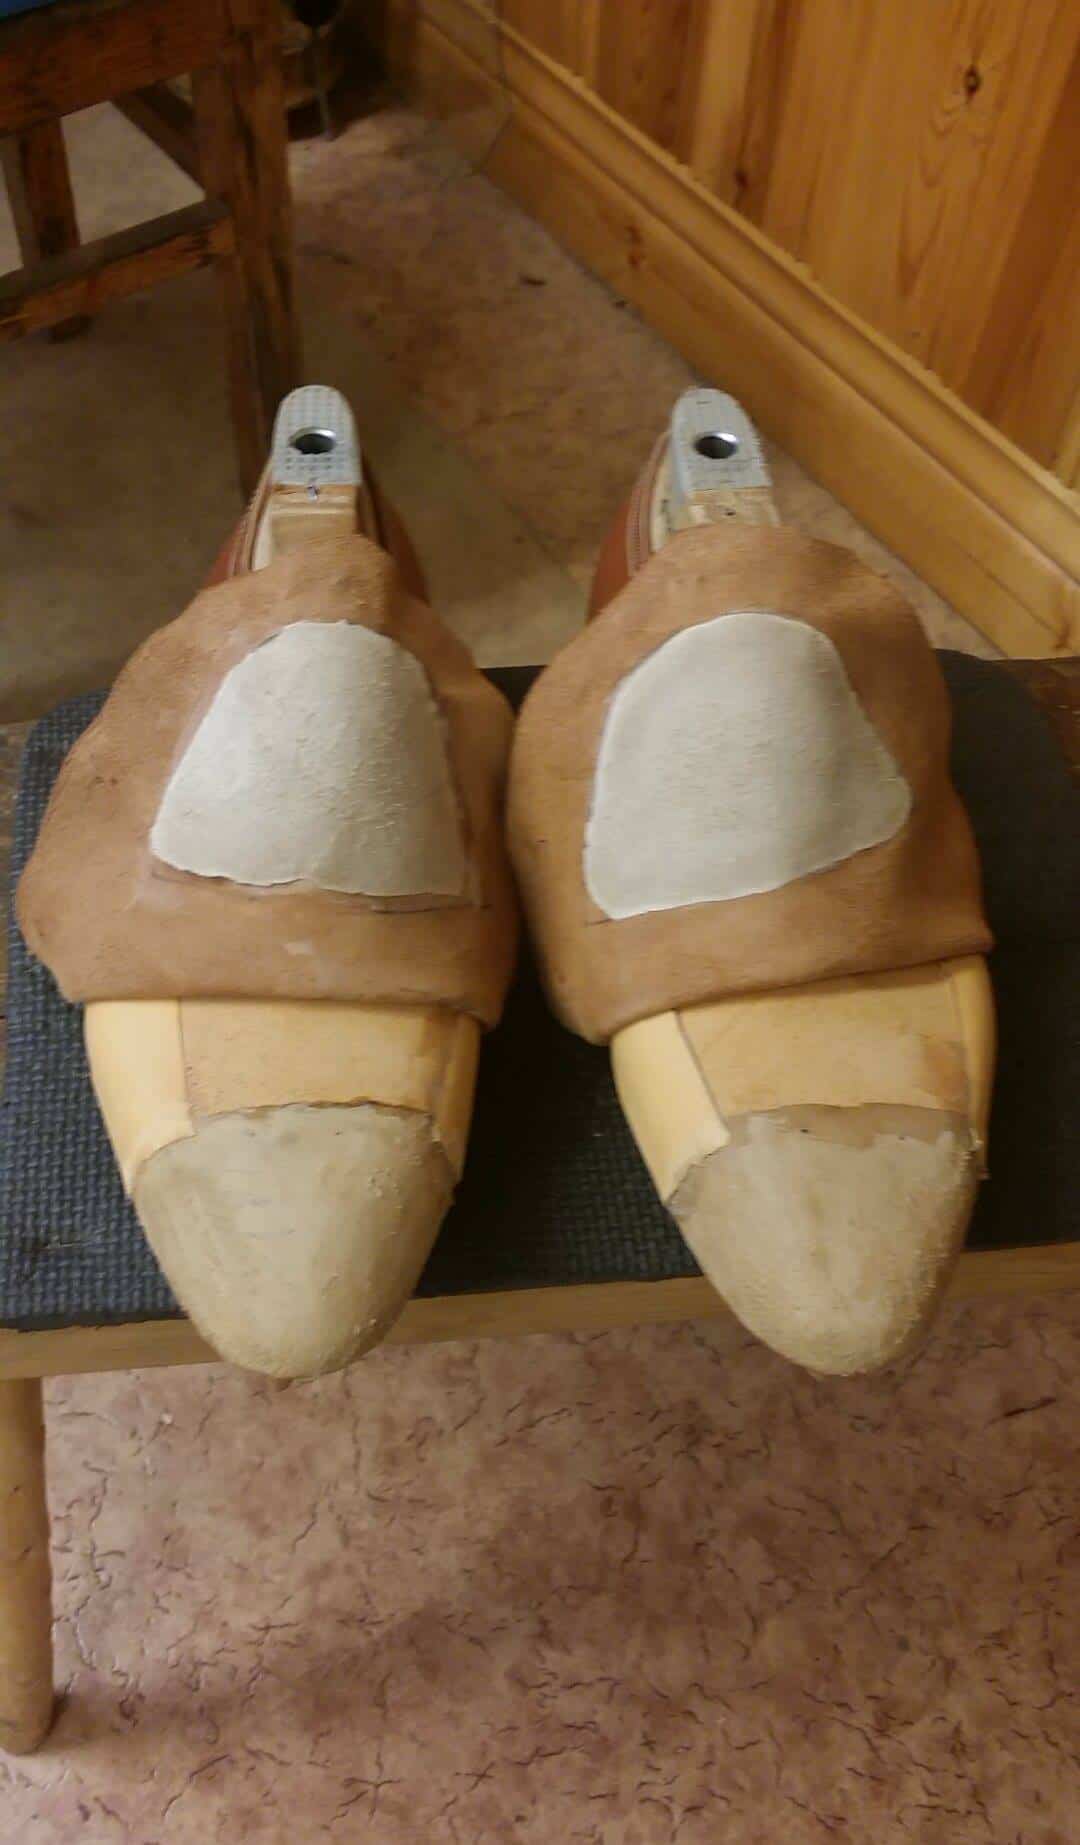
トゥースティフィナー、サイドレインフォースメントを装着。
最後に行ったこと.
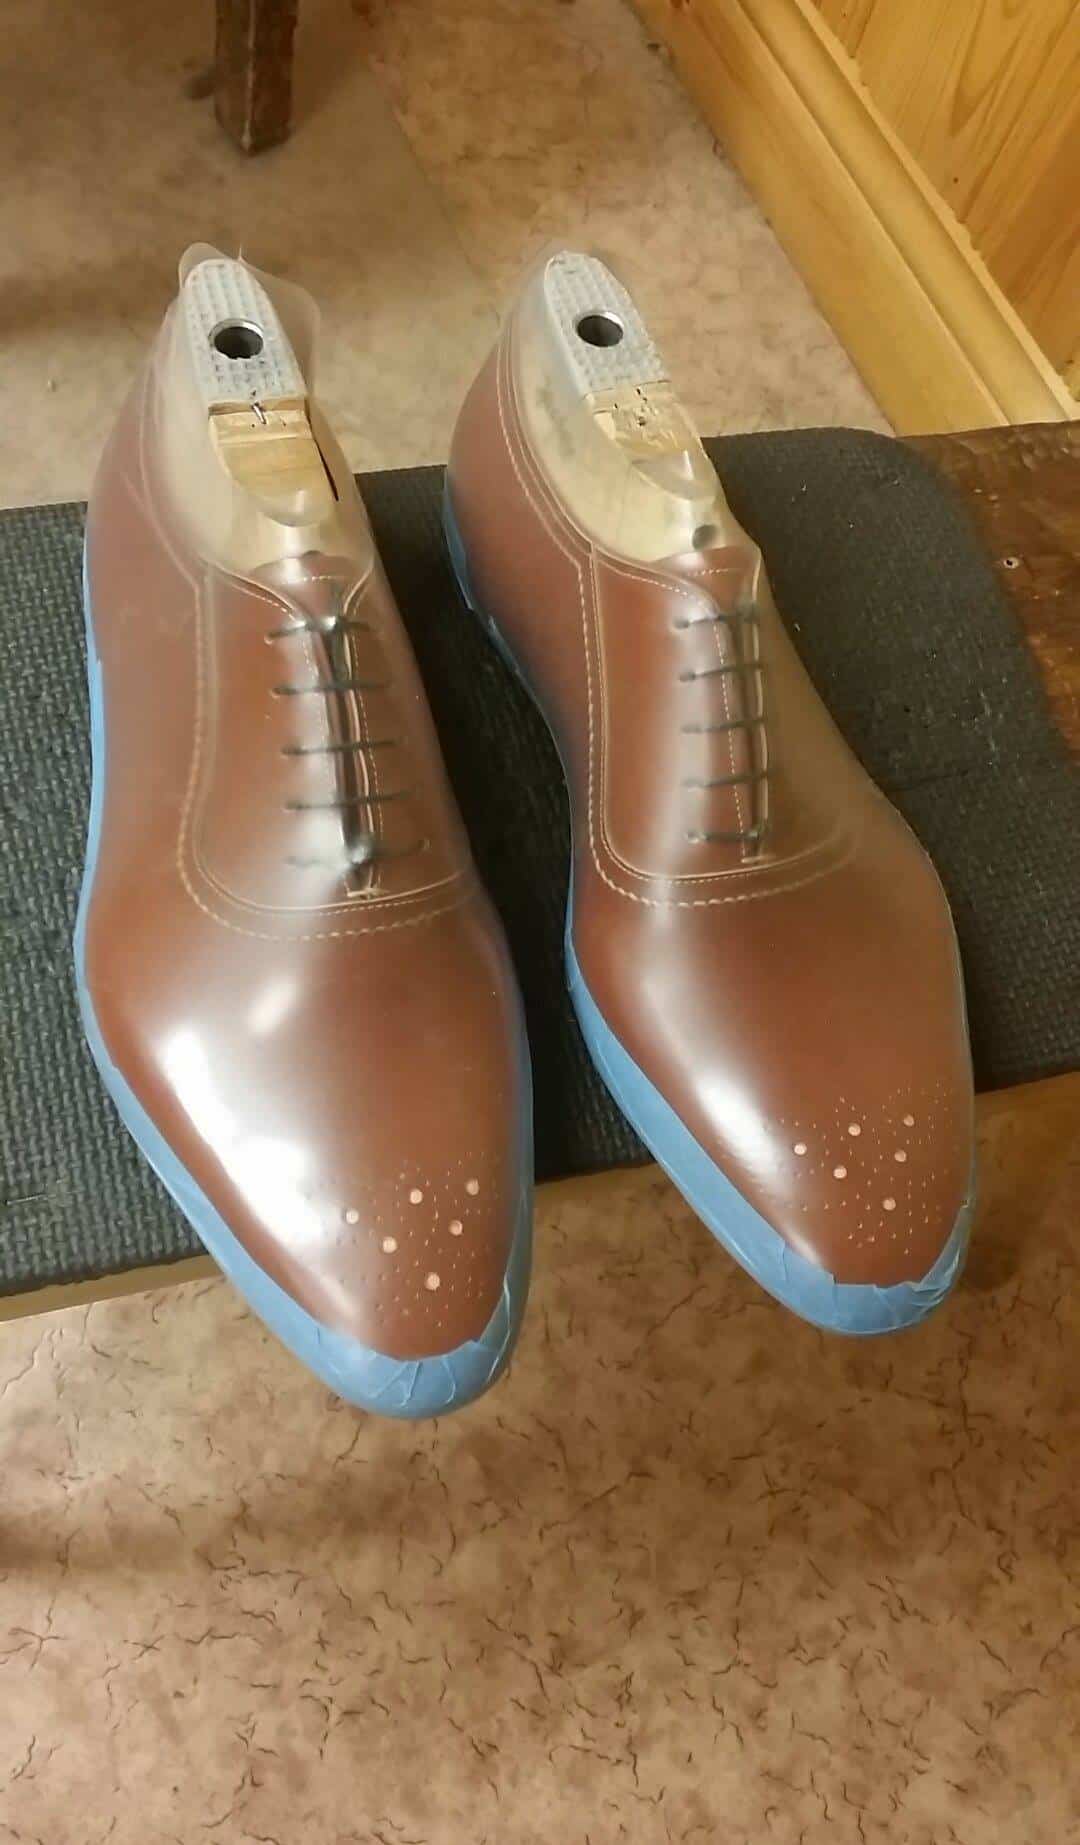
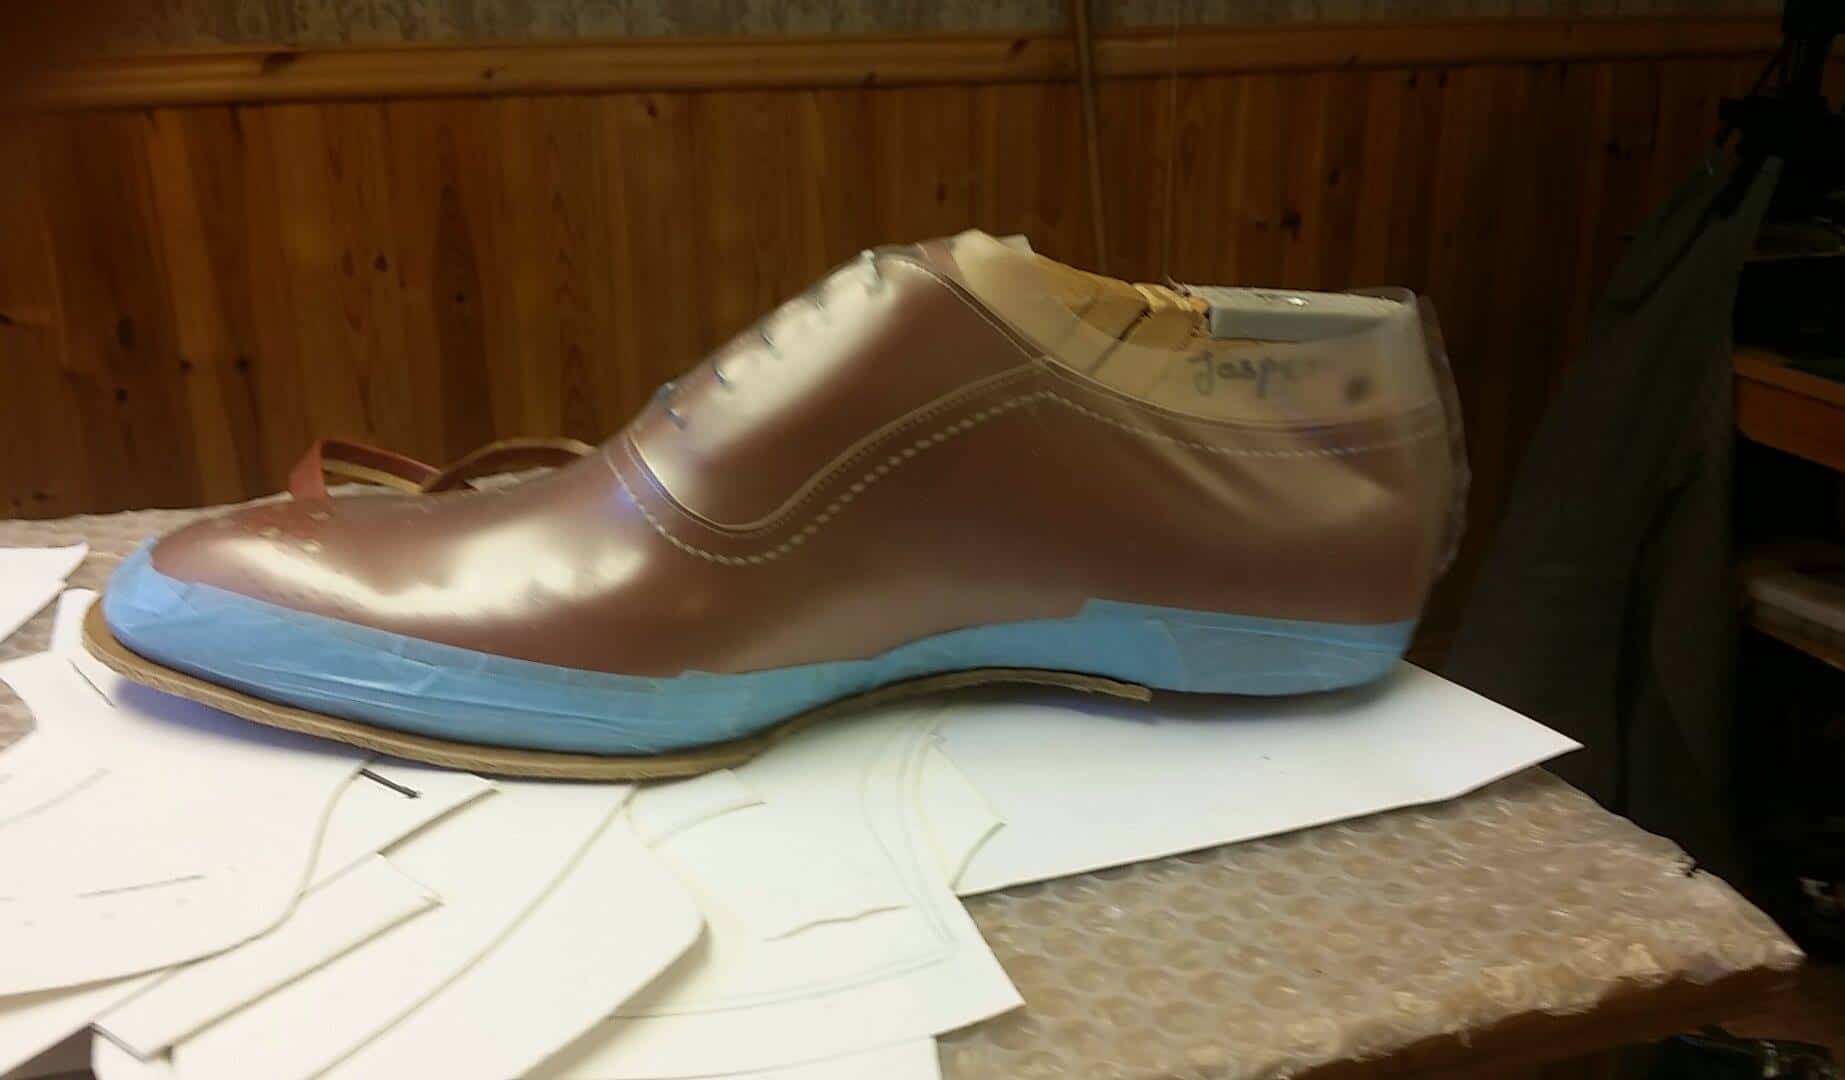
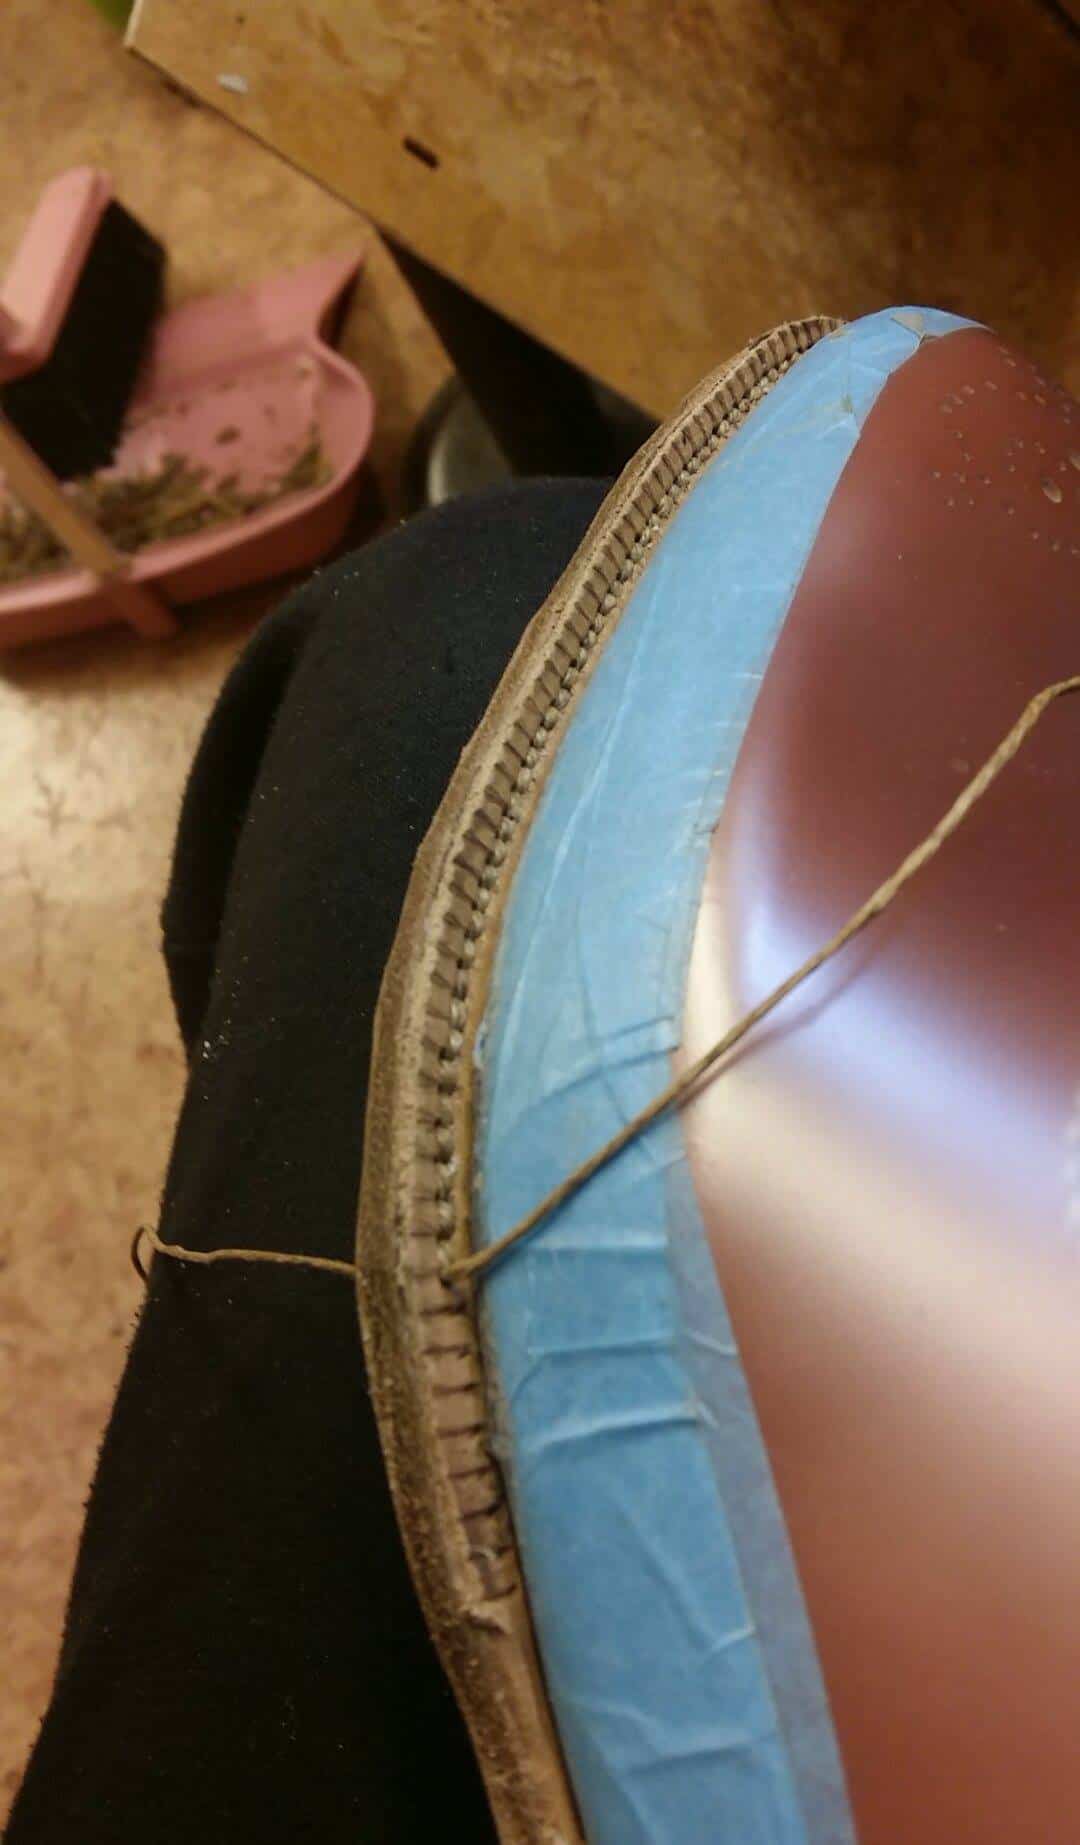
カバープラスチックとテープ。
ウェルディング完了。
他のビュー .
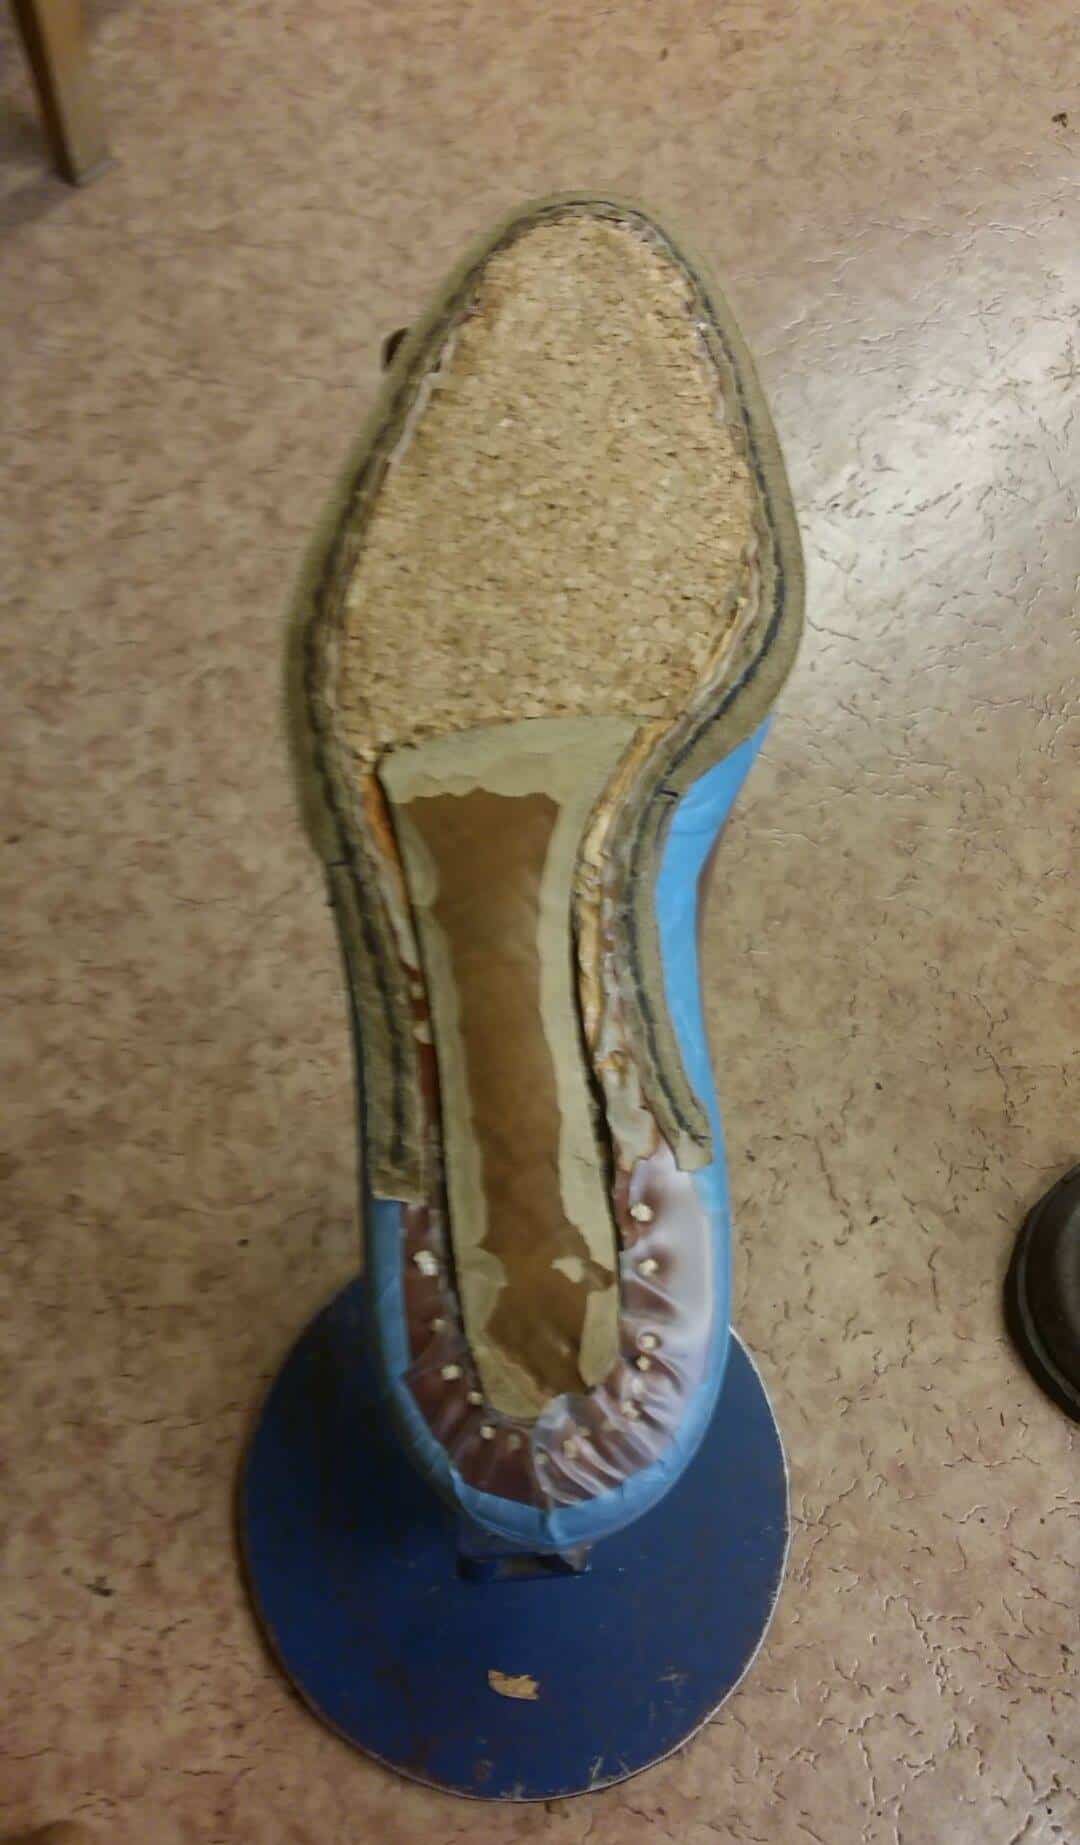
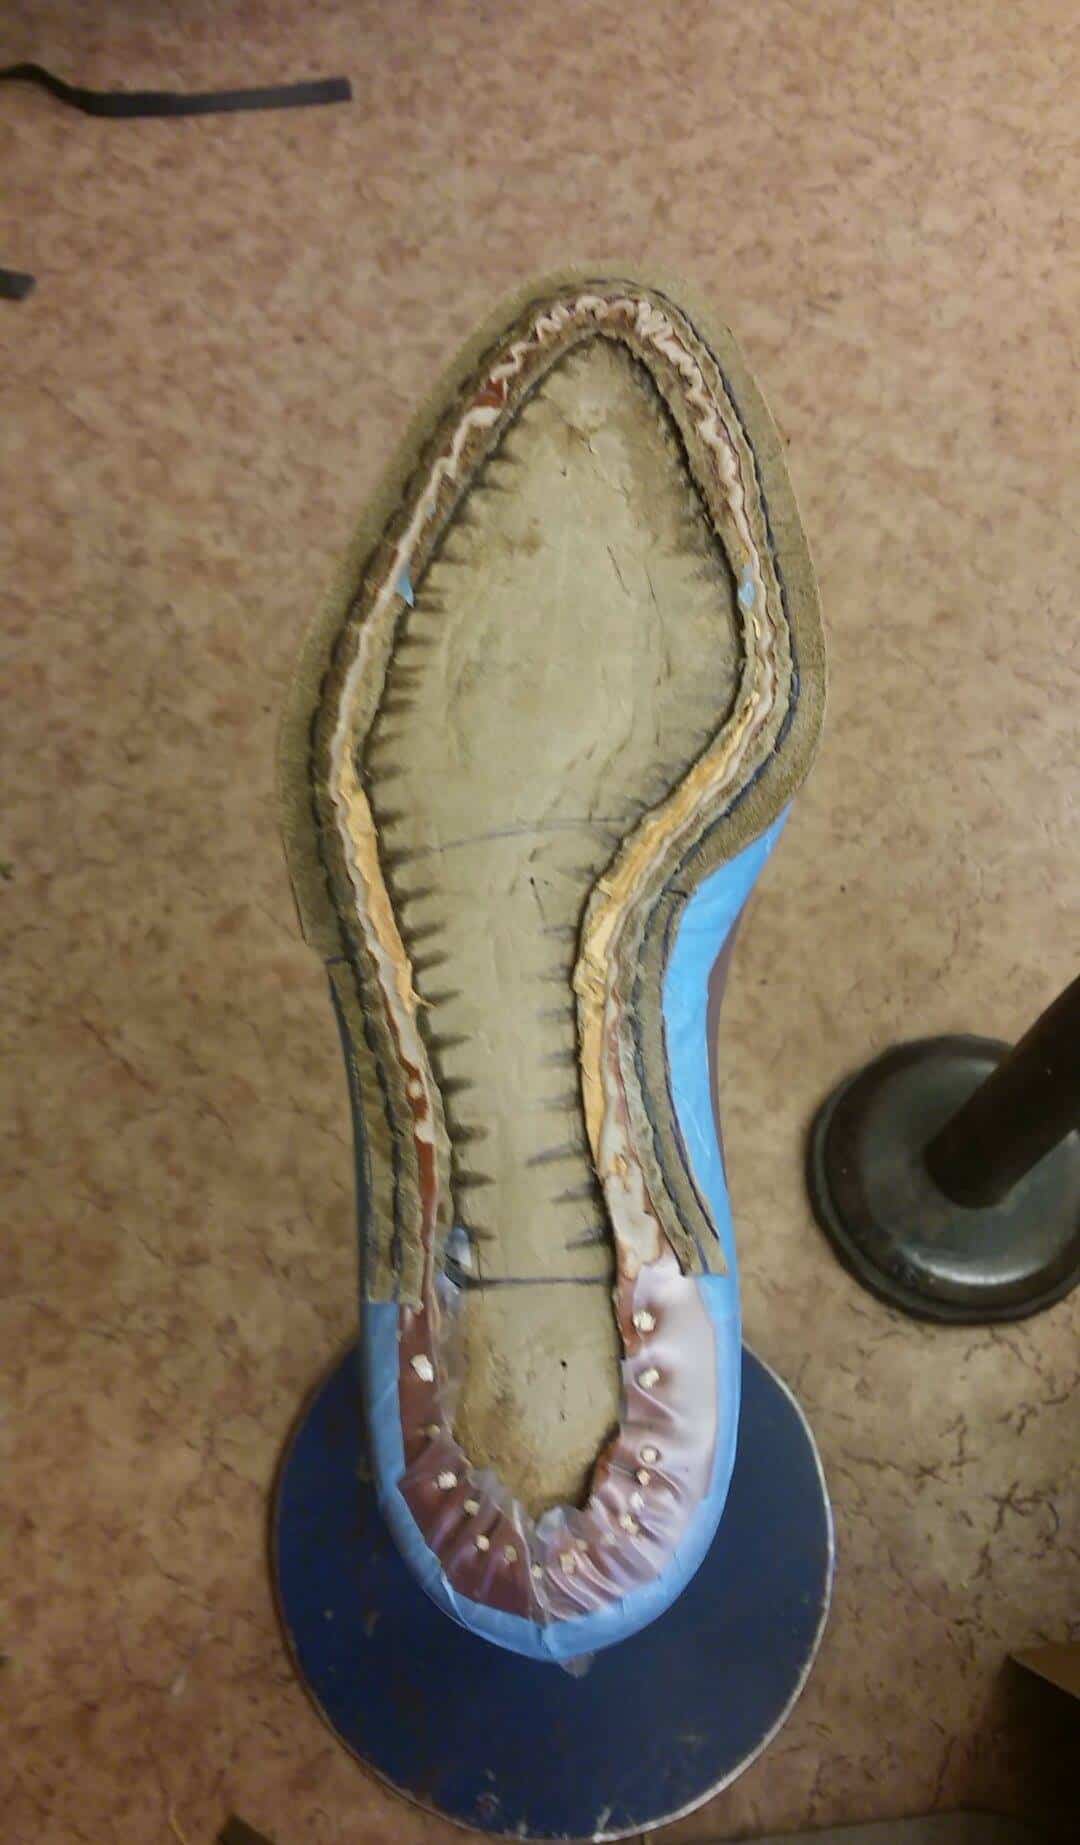
コルクプレートのフィリングとレザーで覆われたメタル製のシャンク.
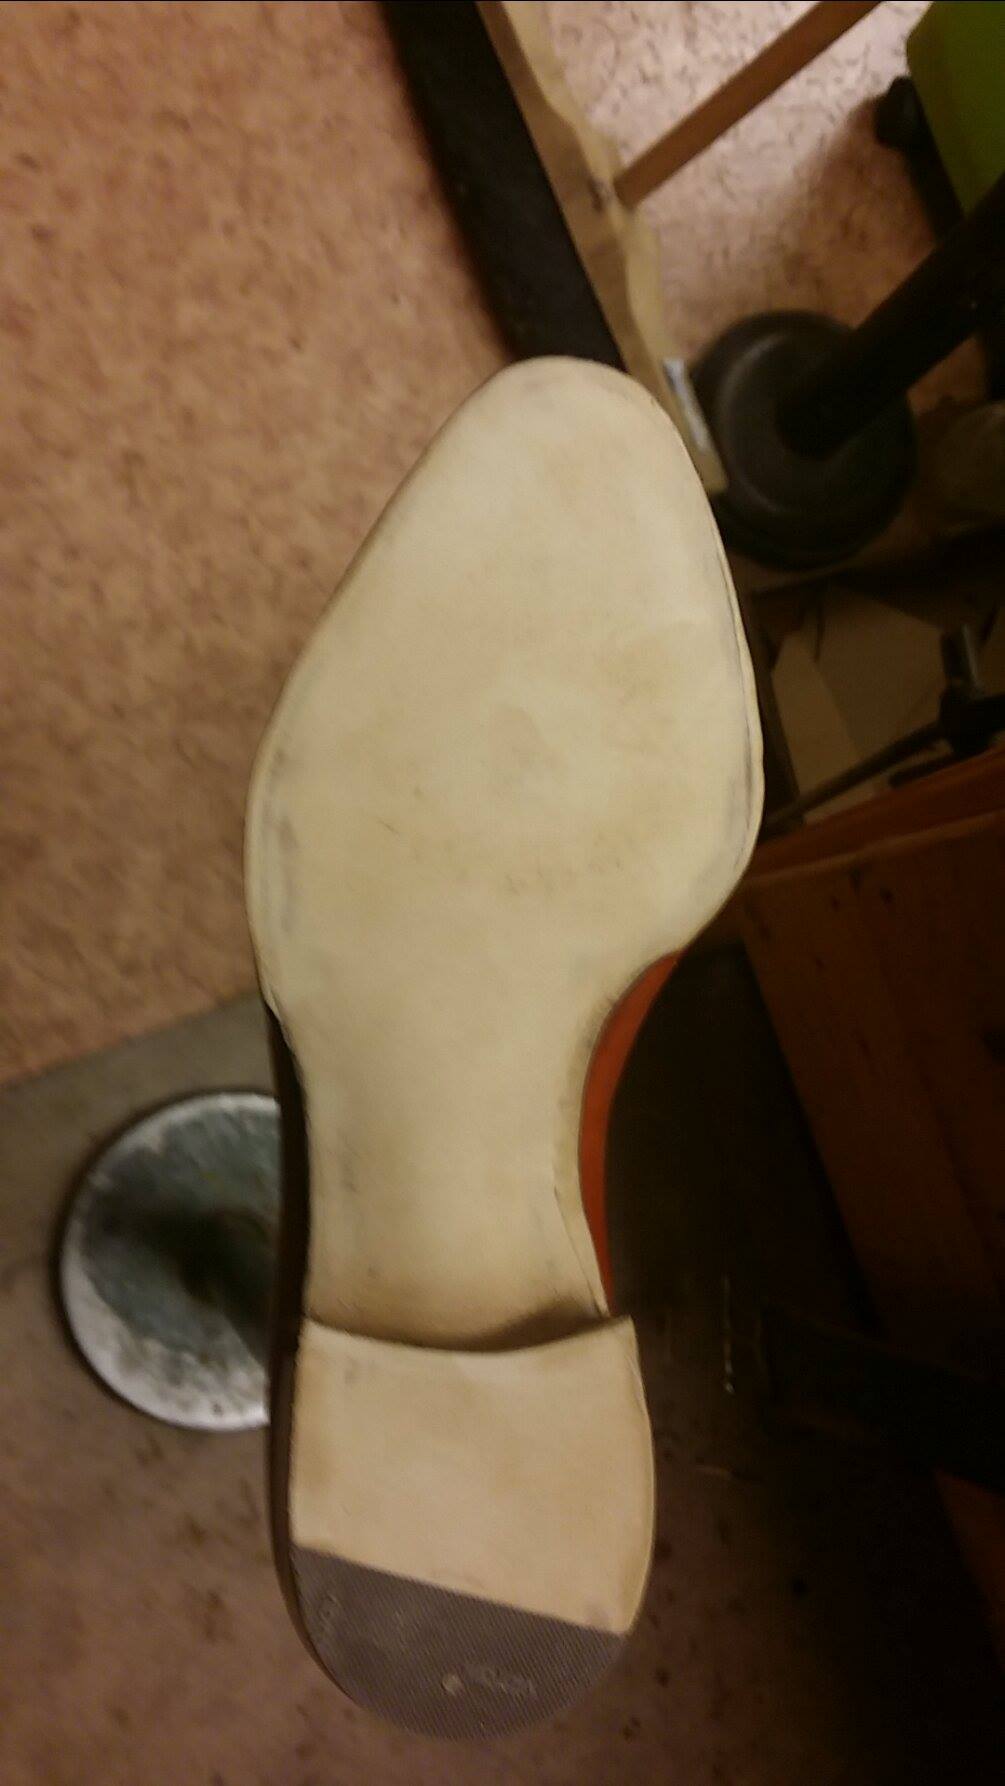
ソールステッチは、前述の通り、8本のスパイで作られています。
靴の組み立ては完了し、あとは仕上げを残すのみです。
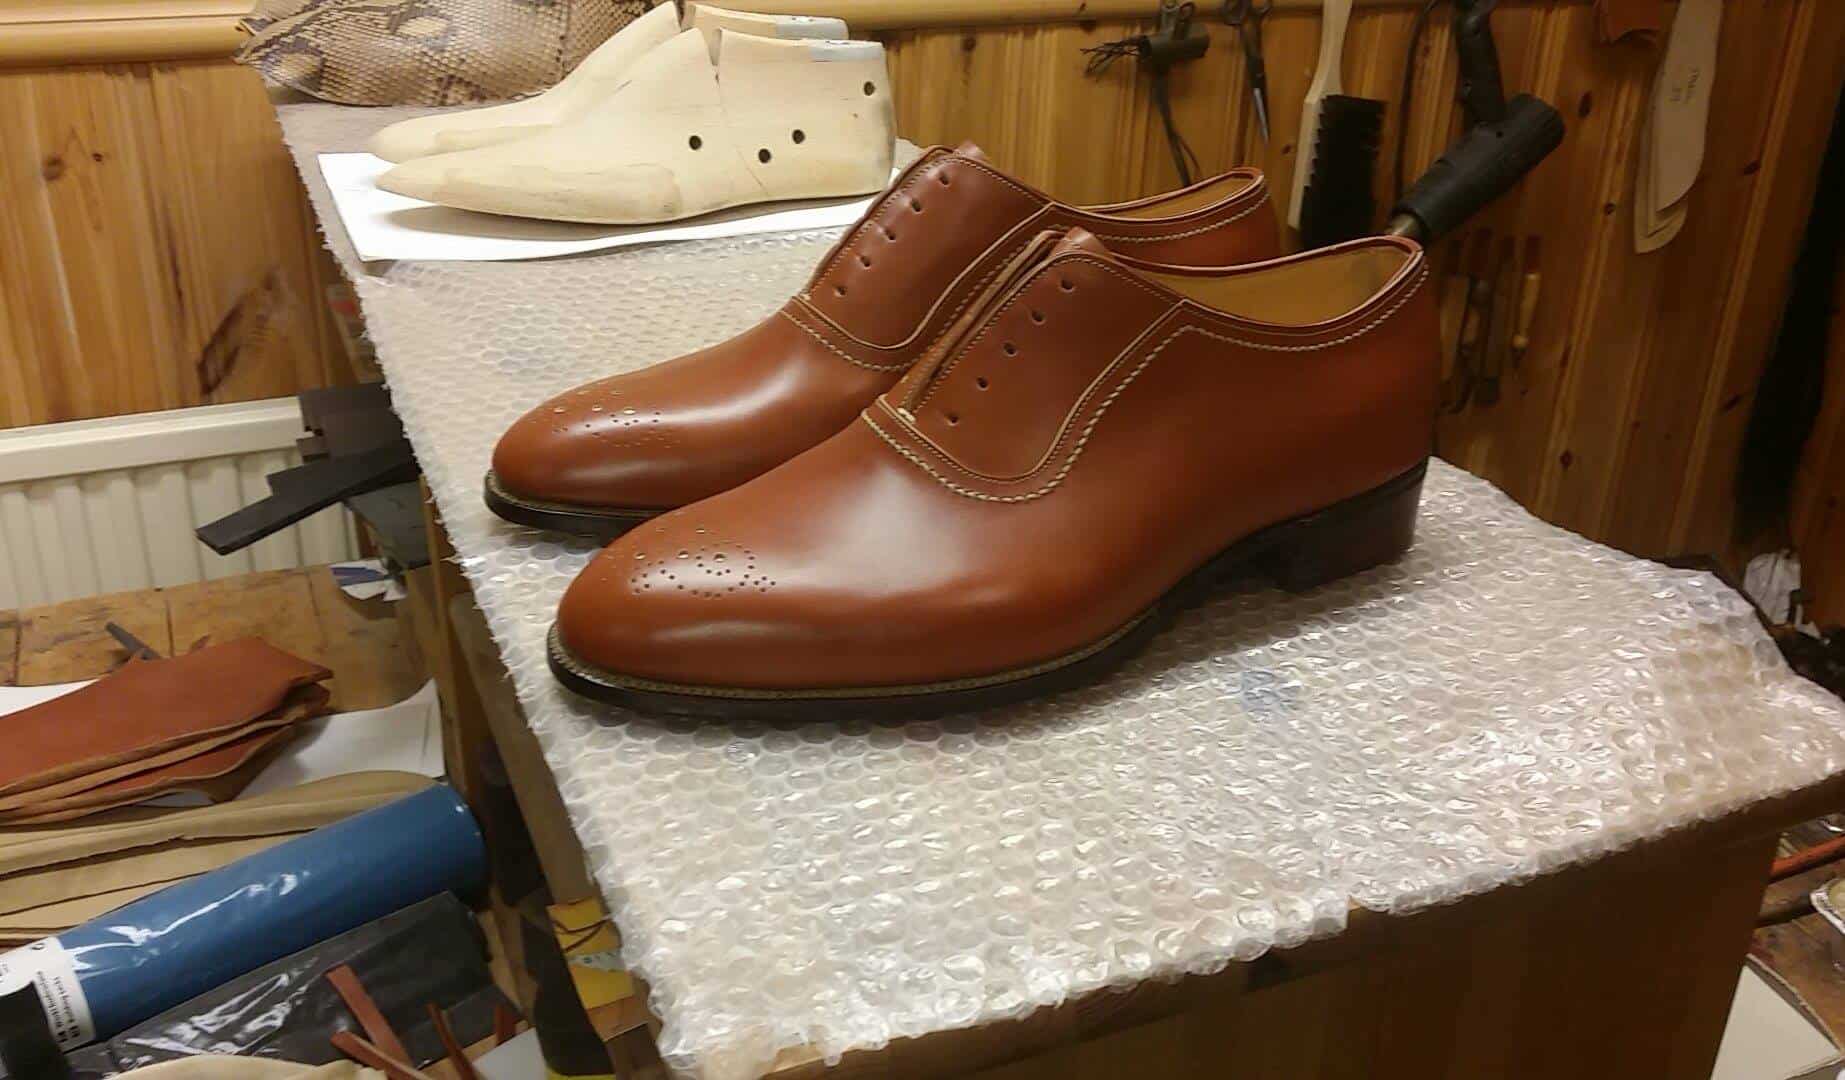
ここでは、ラストを引き、ソールのエッジを塗装しています。

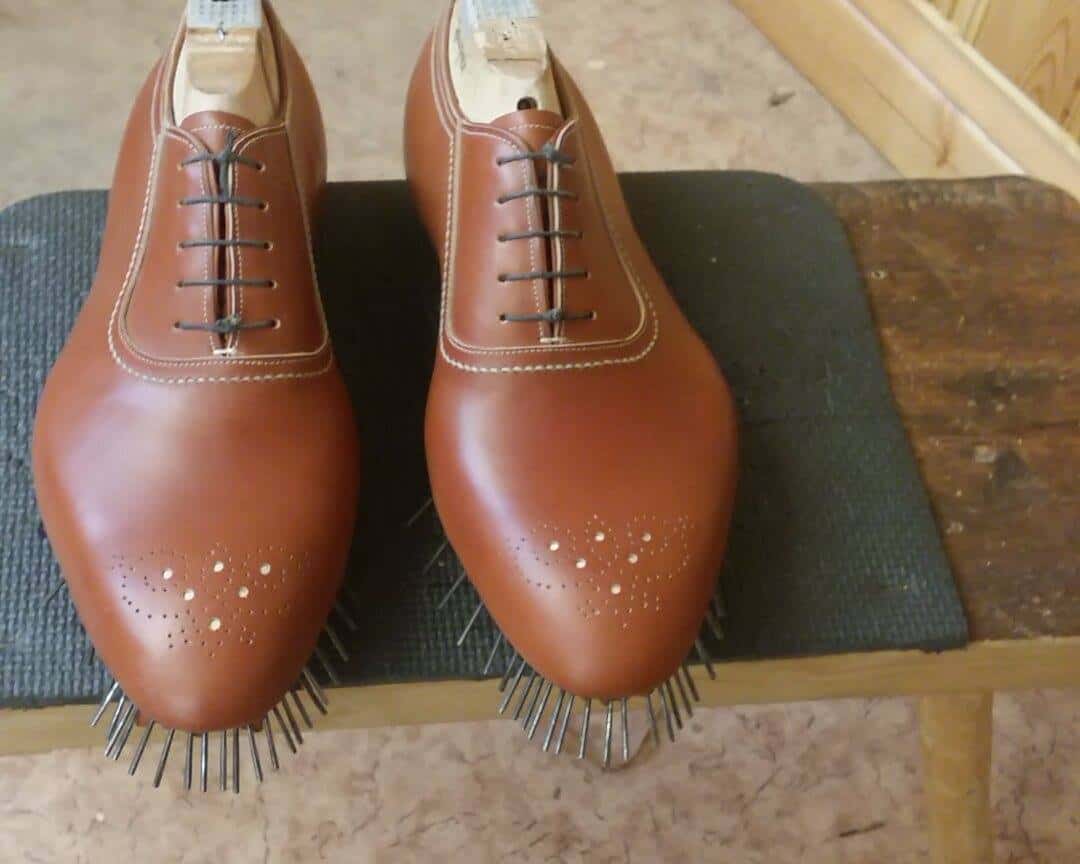
最後に、最終的な靴の写真をたくさん撮りましたが、とても満足のいくものでした。

–

–

–

–

–

–

–

–

–

–

–

–

–

–

–

–

–

–


Great post! Amazing shoe!
Mark: Thank you very much!